For Quick Fixes, Use a Paint Buddy
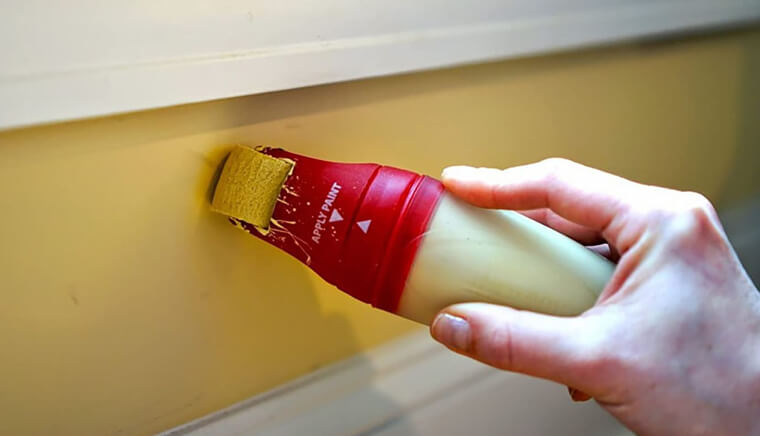
This quick fix can help with the tedious task of touching up scrapes, dents, and scratches. With the Rubbermaid Paint Buddy, you can repair minor imperfections without getting all your painting equipment out. It's so small and efficient that it helps to avoid wasting paint and reduces mess. Simply fill up the Paint Buddy with your leftover paint, and you're ready to go! Luckily, Paint Buddy's are quite easy to get hold of.
Head to Google Shopping and search for the 'Rubbermaid Paint Buddy.' A few options, including alternatives from other brands, should appear. You can even store leftover paint in your Paint Buddy, so it's ready to go whenever needed!
Degrease Surfaces
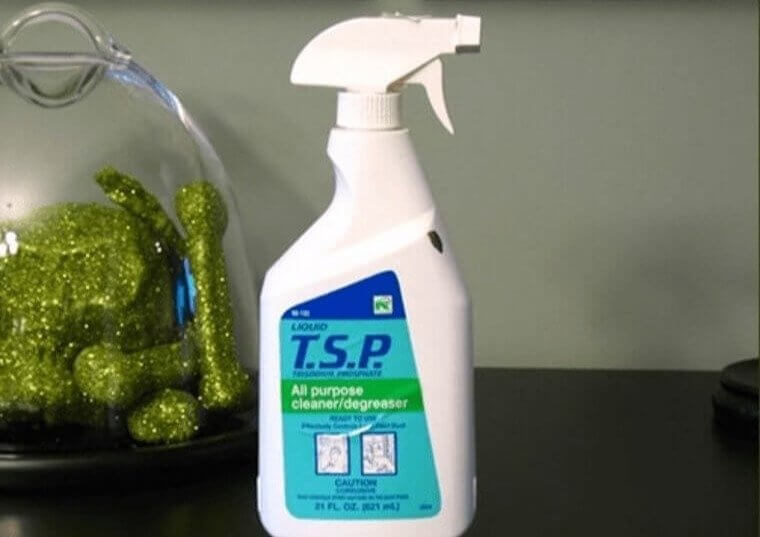
Another thing you can do to achieve a clean paint job is to use a degreaser to clean surfaces before you start. This works wonders for removing grime on the wall (or whatever surface you're painting). A degreaser works by dissolving the oils and dirt stuck on the walls without leaving behind any residue. This goes a long way to ensure the paint adheres better to the wall once applied.
It's also worth noting that cleaning surfaces with a degreaser first can also help preserve your paintbrushes, as they won’t get as overloaded with dirt and debris that can damage them.
Protect Your Space
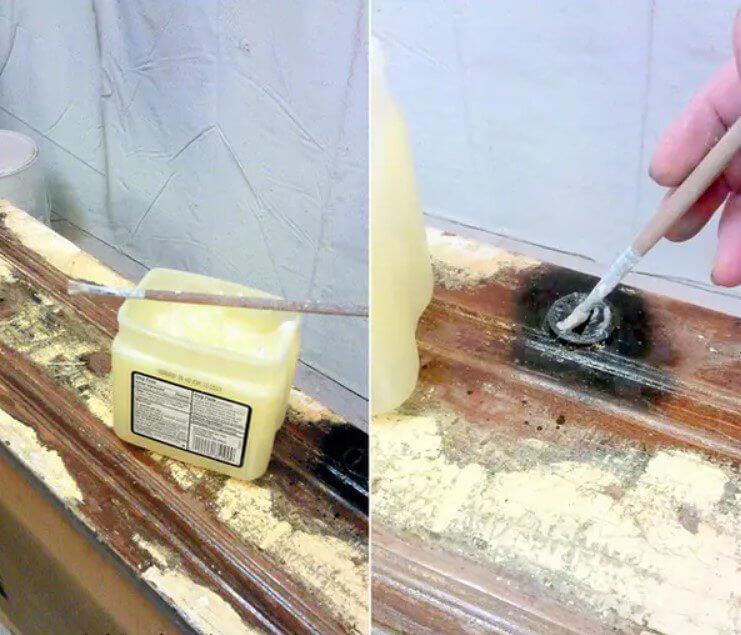
Painting can be a messy job. So, taking steps to protect areas you don't want to ruin is essential. One helpful tip is to apply a thick layer of vaseline to things like hinges, screws, sockets, and other small areas that may get splattered with paint. This prevents the paint from sticking to these areas, which makes cleaning up much easier. This hack is easy, cheap, and can save time. Not to mention it could save you money on cleaning supplies and touch-up work.
Using this technique, you can focus on your painting work without worrying about damaging your surroundings. A quick wipe with some alcohol will clear the vaseline off after you finish.
Clean Your Surface
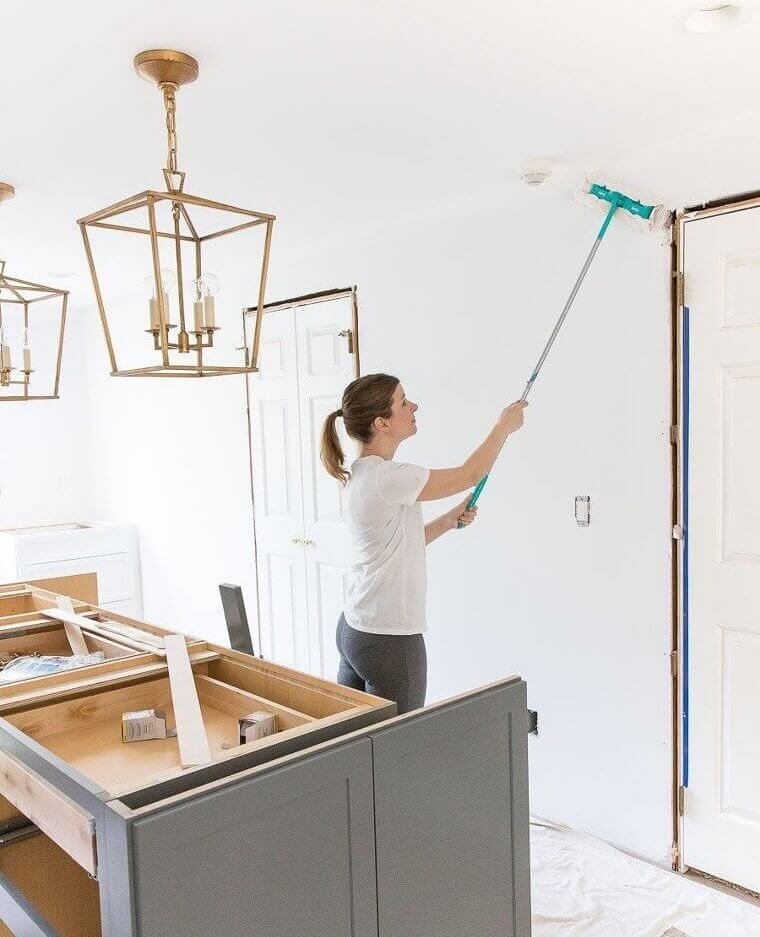
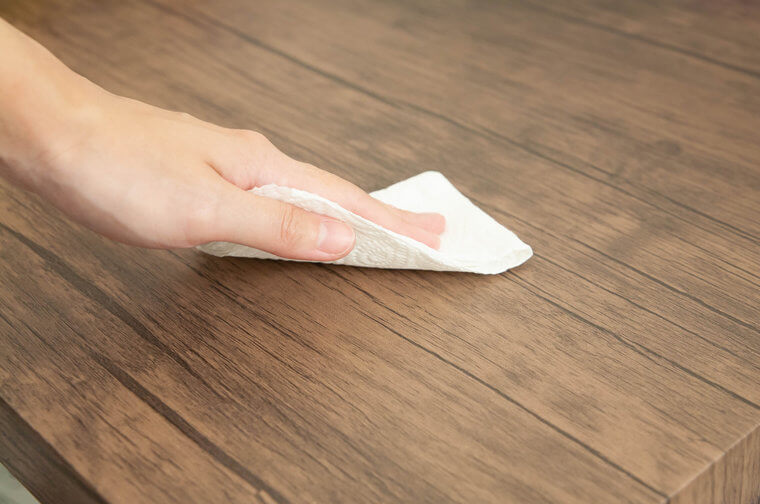
Before starting any painting project, preparing your surface to achieve a smooth and polished finish is crucial. So, ensure the surface is clean and free of dirt, grime, dust, and debris. A simple and effective way to do this is to use a Swiffer sweeper with a towel attached to wipe down the surface. If you don’t have one of these, a wipe attached to a flat mop will do.
This will help avoid dust or grime that may cause bumps in the paintwork. The bottom line: By taking a few minutes to prepare your surface, you can save time and ensure a better-quality finish.
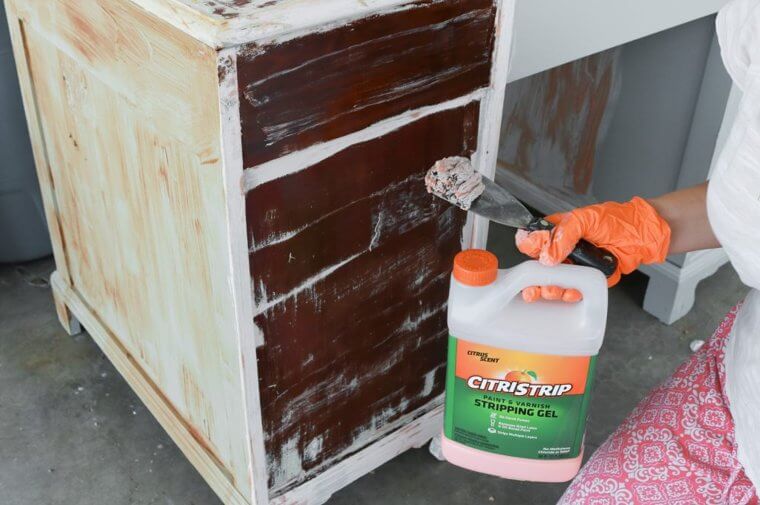
The Easy Way to Strip Old Paint
Removing old paint from furniture or walls can be a time-consuming and challenging task. However, with Citristrip, you can make the process safer and more effective. Unlike traditional paint strippers, Citristrip is a gentle and non-toxic product that doesn't contain harsh chemicals. Nevertheless, it can still tackle multiple layers of dried latex and oil-based paint, varnish, lacquer, polyurethane, and shellac from wood, metal, and masonry surfaces. To use, apply Citristrip to the surface you want to strip, and let it sit for 24 hours.
Then, the paint should easily peel off, leaving your furniture or walls looking new. With Citristrip, you can remove paint without worrying about damaging your surfaces or exposing yourself to harmful chemicals - win-win!
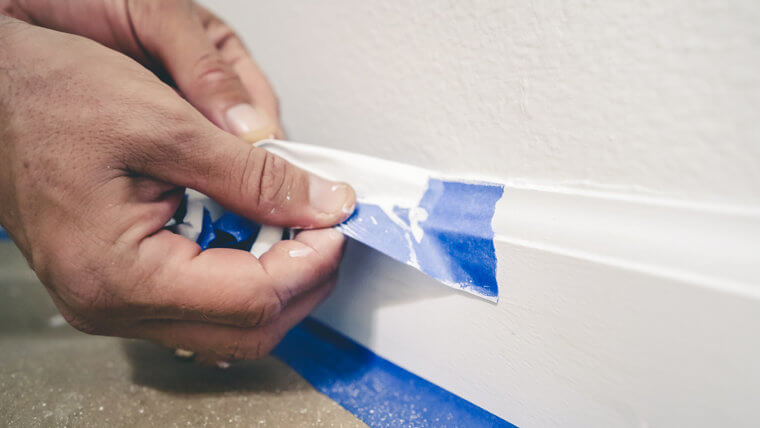
Grab the Painter's Tape
Professional blue painter's tape is your best bet if you’re looking for clean lines and crisp edges in your paintwork. It can be especially useful if you're trying to create unique stencils or patterns – the possibilities are virtually endless! That said, you must remember to remove the tape before the paint has dried to avoid cracking. While it might seem tedious, it's an essential step towards achieving a great finish.
Just remember to have patience and stay diligent with those final touches, so your walls look perfect when you're done. You should be able to get a roll on Amazon or your local hardware store.
Prevent Paint Drips
Any DIY painter will tell you how much of a nuisance paint drips are! When they dry, they diminish the overall look of your paint job. But fortunately, there is an easy way to prevent it from happening. Just carry a cloth while painting to wipe off any excess paint from your brush. Not only does this eliminate the headache of dealing with pesky paint drips, but it also goes a long way to ensure a smoother finish.
Any old cloth will do. Remember that when you detect excess paint accumulating on your brush, reach for your cloth. Keep it in your apron/pocket to always have it to hand.
Keep Your Paint Supplies Organized
Organizing your paint supplies is essential to ensure a stress-free painting project. Using a cardboard box is one simple and cost-effective way to keep your supplies organized. An old grocery box can be repurposed to store your paint brushes, rollers, trays, and other essential supplies. Having all your supplies in one place lets you easily access what you need, and you won't waste time searching for misplaced tools.
Another benefit is that rather than purchasing a new plastic container, a cardboard box is a more sustainable and eco-friendly option that allows you to reuse something you may have otherwise thrown away.
Milk Carton Paint Brush Holder
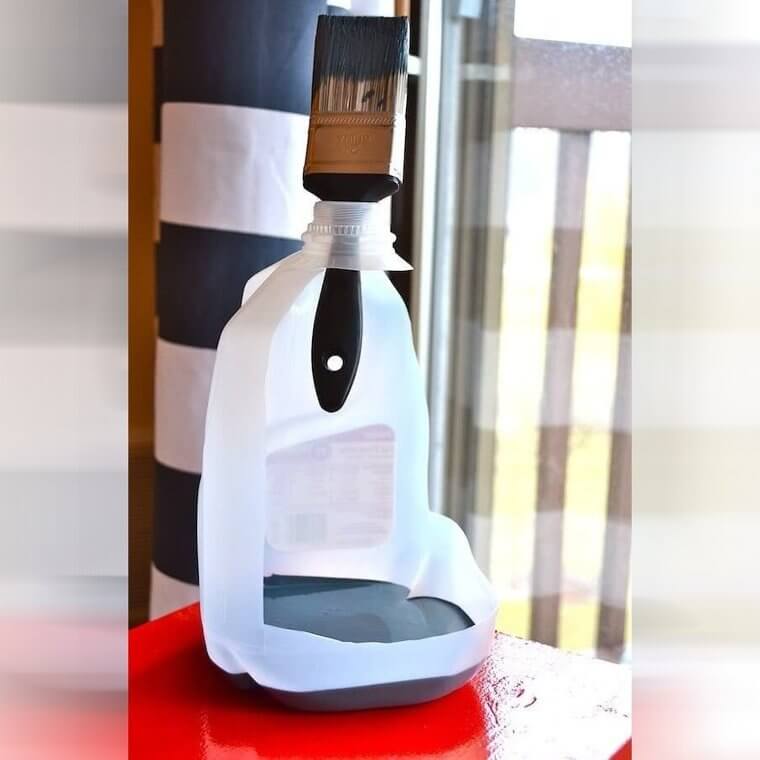
Suppose you're looking for an easy and affordable way to store your paintbrushes while you're working. In that case, a milk carton paintbrush holder like the one pictured here is a great solution. To create this DIY holder, take an old plastic milk carton and cut out a portion of the center panel. Once you have removed the center panel, you can fill the base with paint and stick your brush through the hole at the top.
This easy hack lets you keep your paintbrushes and paint within easy reach. You also ensure paint handles remain clean because they won't accidentally fall into the paint. Handy, right?
Quick and Easy Paint Trays
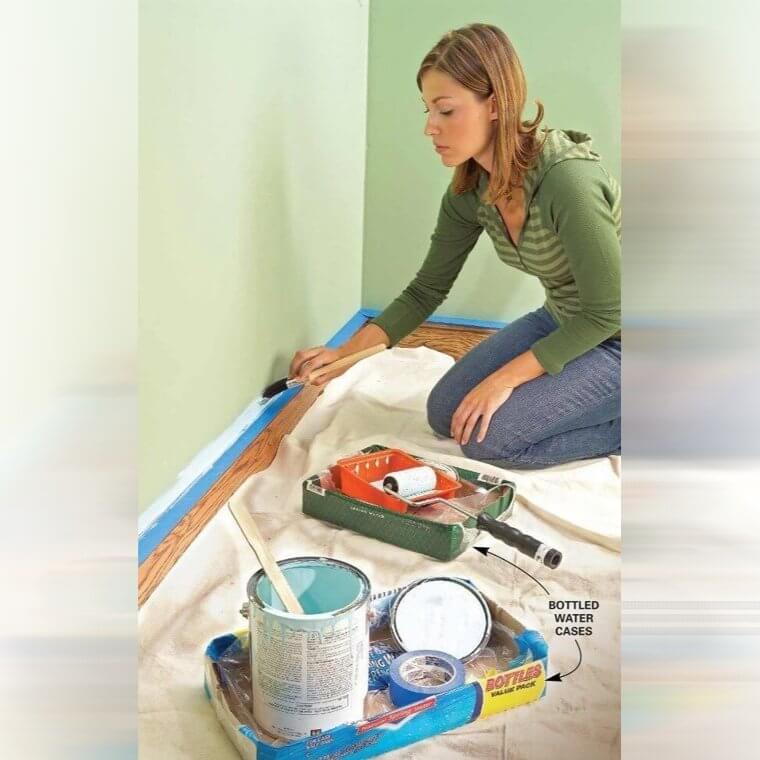
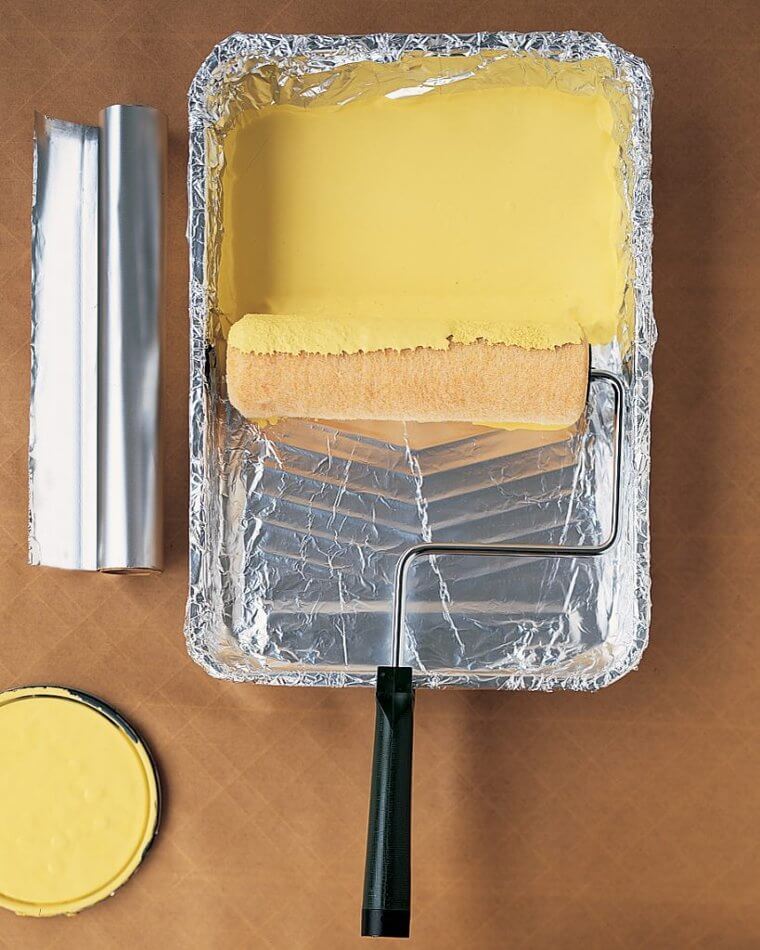
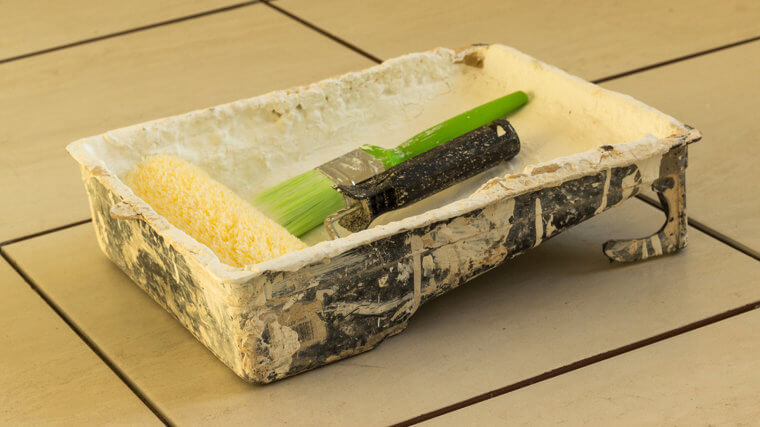
Having a reliable paint tray is essential when working on a painting project. However, purchasing a new tray whenever you paint something in your home can be expensive. A great alternative is to use an old food or foil tray and turn it into a paint tray by lining it with a plastic bag or wrap. Just make sure to cover the sides and bottom thoroughly. Then, pour in your desired paint color.
Not only is this hack a cost-effective solution, but it also makes cleaning up a breeze. Just discard the plastic bag and toss the tray in the recycling bin. With this quick and easy hack, you can have a paint tray ready to go in no time.
Use the Zig-Zag Method to Start With the Walls
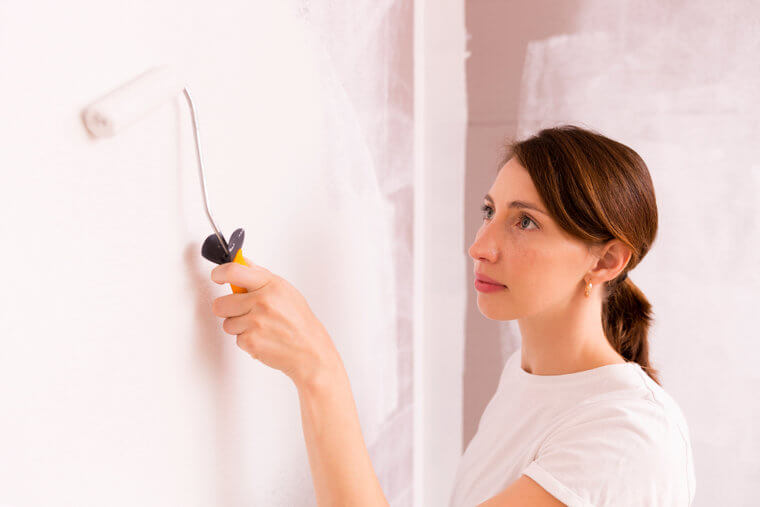
Once you've got your paint, space, and brushes in order, let’s talk technique. When it comes to getting the perfect painting finish on your walls, you don't have to be a professional to do it. Just use the zig-zag method! Start at the corner of your wall and use slow, overlapping strokes that mimic a zig-zag or narrow 'W' pattern across the wall's surface. This technique ensures complete coverage with minimal effort.
The slight overlap helps to ensure you don't miss any spots, either! Professional painters swear by this technique, so give it a try next time you pick up a paintbrush – you'll be glad you did!
DIY Roller Storage Tin
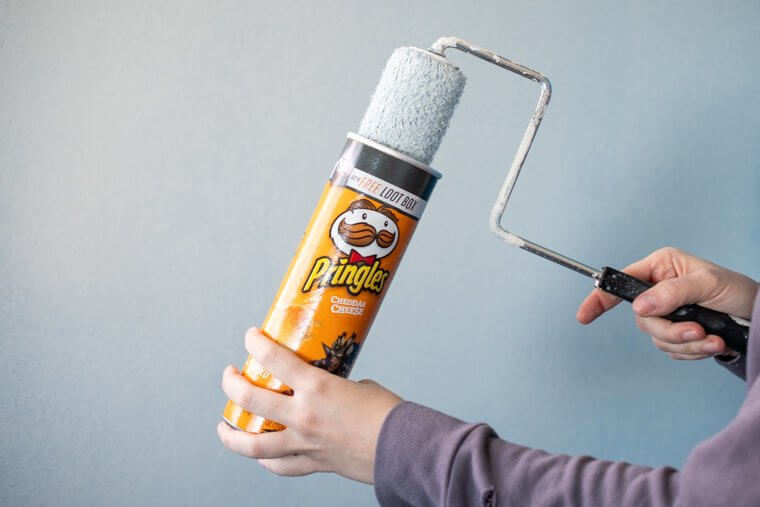
This DIY hack is simple and affordable, requiring only an old food can or Pringles tin. First, remove the roller's handle and slide it into the cylinder of the can. Then, seal the opening until you're ready to use the roller again. This hack isn't only cost-effective, but it's also an excellent way to keep your workspace tidy and free from clutter. But best of all, it prevents the roller brush from drying up around the edges.
With your DIY roller storage tin to hand, you can down tools for a lunch break safe in the knowledge that your roller is stored safely away, ready to use again at your leisure.
Scent Your Paint
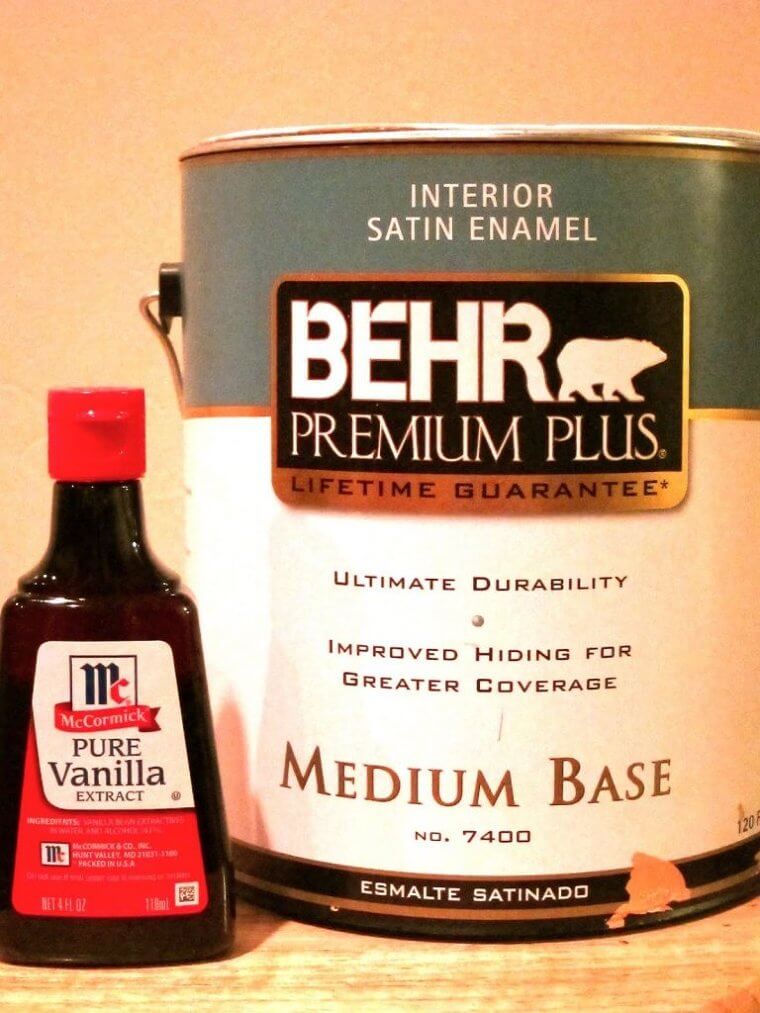
Painting your home can give it a fresh, updated look, but the smell of paint can linger long after the project is done. If you want to minimize this unpleasant odor, a great hack is to add a few drops of vanilla extract to your paint can. Adding a tablespoon of vanilla extract per gallon of paint can reduce the strong smell of varnish and leave your room with a pleasant, subtle vanilla scent.
This hack is the perfect way to make your painting experience more enjoyable and help you feel more comfortable in your home after completing the project. Best of all, you may already have some vanilla extract in your kitchen cupboard!
Create a Portable Studio
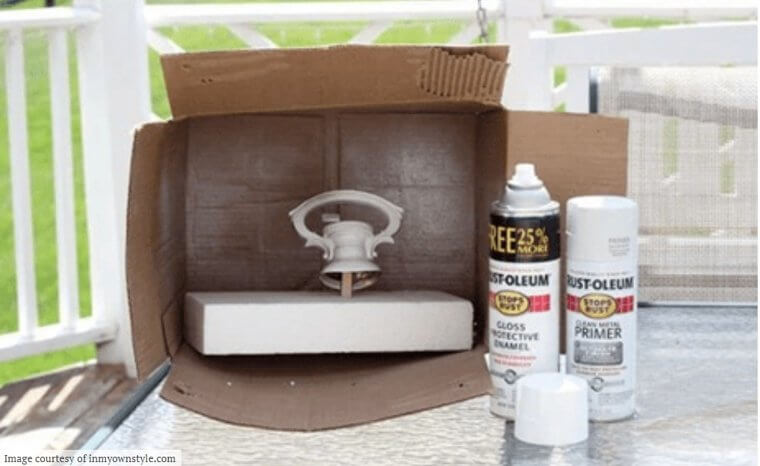
This mini portable studio pictured here is perfect for those who need to spray paint or quickly paint small items using a brush without making a mess. Setting up one of these studios begins with finding the right size box for whatever you're painting. Then, affix a piece of plastic or tarp to the bottom of the box, which acts as a protective layer against any excess paint that might drip from your brush or spray bottle.
Pro tip: Hang some paper towels nearby to quickly blot away any accidental spills. With this simple setup, you’ll be ready to spray paint away - minus the inconvenient mess.
Prime Old Furniture
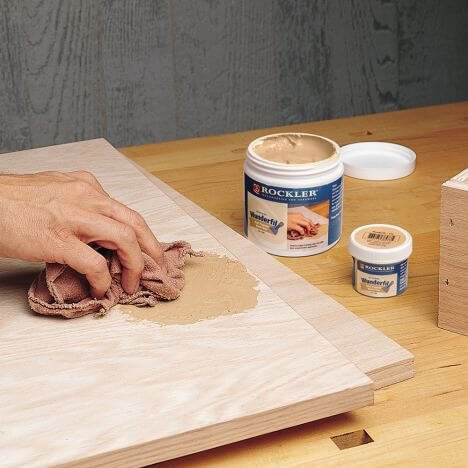
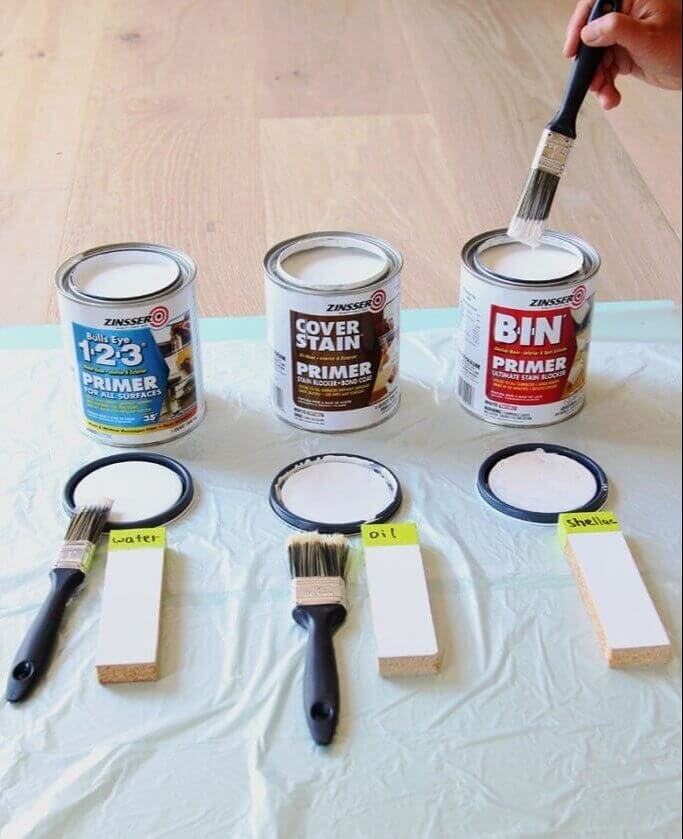
You can achieve a much smoother finish on wood by using furniture concealer or wood filler to prime it before painting. This is easy to use and provides an excellent base layer for painting. But first, sand the wood lightly to create a smooth surface. Then, apply a thin coat of the furniture concealer with a clean cloth and let it dry completely. The product's creamy consistency will fill any imperfections in the wood surface and add strength to the structure.
Priming older wooden furniture is all the more important as these tend to have tons of knots, dents, bumps, etc., that make painting difficult. In such scenarios, you'll be glad you took the time to prime.
Hoist Your Chairs for Repainting
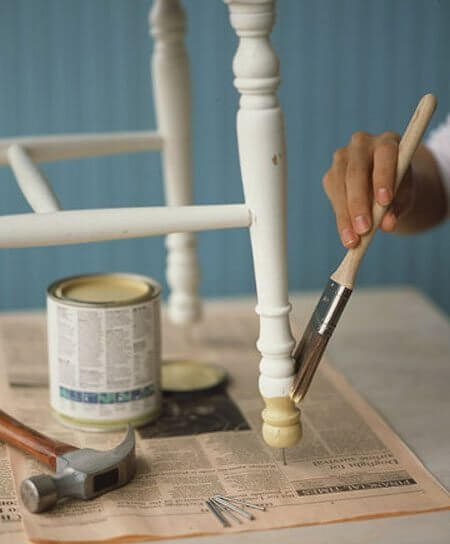
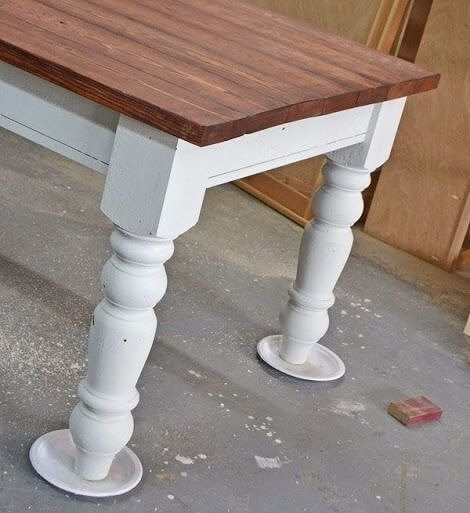
Painting furniture can be challenging, but you can simplify the process with a few easy tricks. One great hack to avoid waiting for the paint to dry to turn tables and chairs upside down to finish the job is hammering small nails into the bottom of the legs, thus creating a holder to hoist the piece up. This technique is particularly useful for items with intricate details, as they are often difficult to access without turning them over.
Also, hoisting your furniture away from the ground help keeps dust and debris away from your painting area. Again, this goes a long way to ensuring a good finish the first time around.
Use Plates to Elevate Your Furniture
If you’re worried that the nail technique mentioned elsewhere in this listicle will damage your furniture, another option you can try is using old plates or dishes and placing them under the legs of your table or chair. This hoists the piece up, making it much easier to paint, allowing the same access to difficult-to-reach parts. On top of that, this method helps keep dust and debris away from your painting area.
It also prevents potential damage that could be caused by turning over the furniture. This makes it a good option if you're painting old or antique furniture where extra care is needed.
How to Tell What Kind of Paint Is on the Wall
Knowing what kind of paint you have before you start a painting project is essential. Fortunately, it's easy to tell whether a wall has been painted with latex or oil paint with the help of a cotton ball and some rubbing alcohol. First, soak the cotton ball in rubbing alcohol and gently wipe it along your wall paint - if the paint comes off on the cotton ball, you've got latex paint on your walls.
However, if no paint transfers onto the cotton ball, your walls are likely covered with oil paint. With this simple test, you can be sure you're using the correct type of paint to complement what's already been used.
Thin Out Clumpy Latex
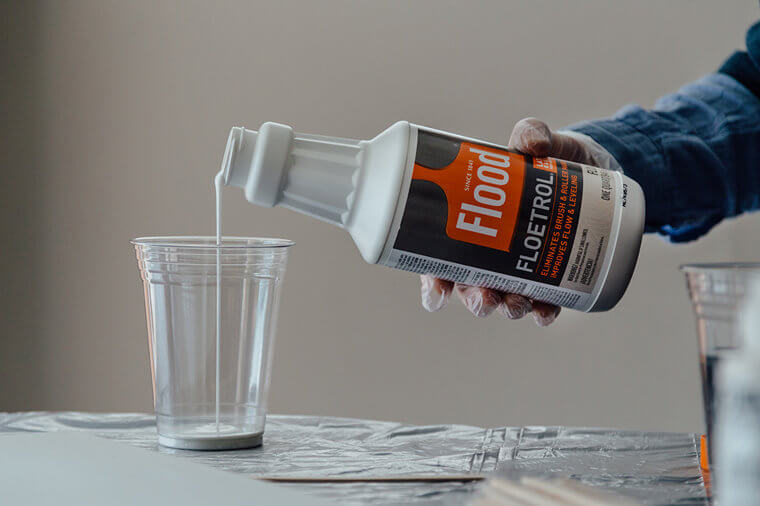
If you are reusing old latex paint, you might need to thin it out before starting a new project. This is imperative to avoid clumping. But, rather than using rubbing alcohol to thin the paint, painters should use a thinner specifically made for latex paint, such as Flood Floetrol. This comes in handy for ensuring the right consistency. It also won't damage the base of your walls or cause any bubbling or cracking.
This thinner will keep your paint in good condition for longer, saving you money in the long run. The moral of the story? Make sure you choose the right thinner next time and save yourself some frustration!
Cling Film Anything You Don’t Want Paint on
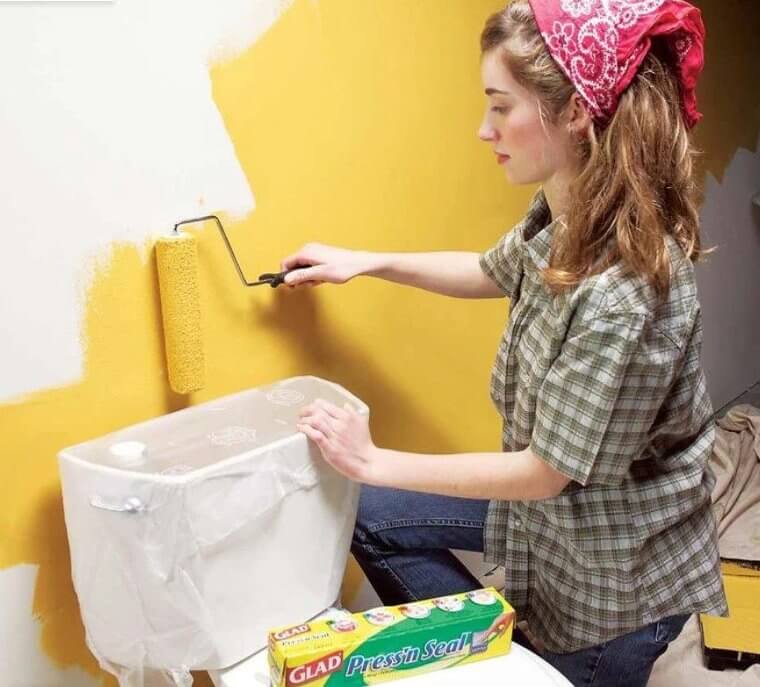
Before you paint anything, prepare the area. Painting projects can be messy, but you don’t have to damage your home in the process! To keep paint off your precious belongings, cover them with cling film or plastic wrap to protect them from accidental spills and splatters while painting. Cling film is a cheap and practical resource for safeguarding your stuff from unwanted paint. It's just as easy to remove and dispose of too.
Cling film, and a bit of tape also works well for smaller items such as doorknobs, light switches, and handles. However, you may want to use sturdier plastic sheets for bigger items like sofas, chairs, or tables.
Use Paint Pads to Paint Hard to Reach Spaces
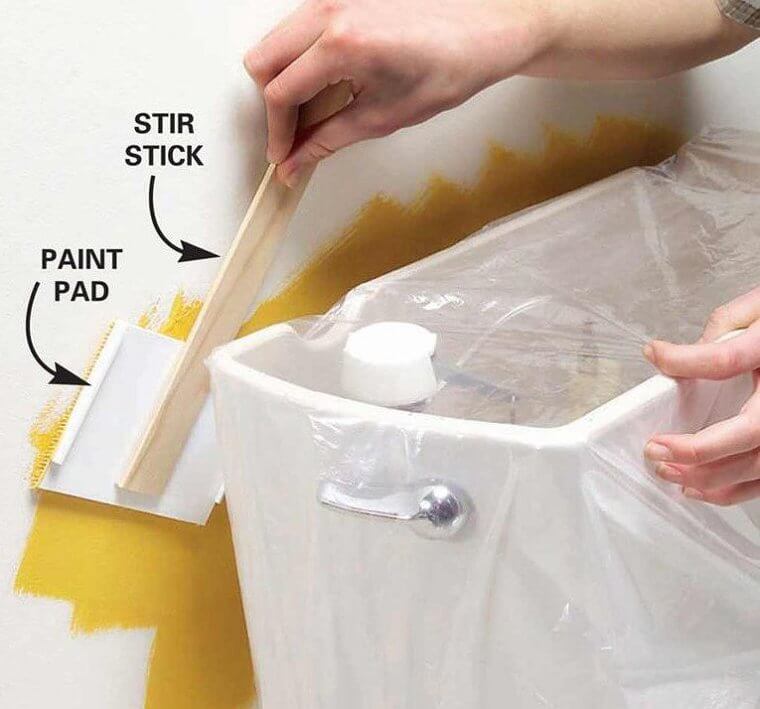
Use a paint pad attached to a stirring stick if you’re doing a quick home repair job and want to avoid overhauling your living space. You can source these pads from a standard paint edging tool. You can pick these up for around $2 at most home centers. Then, take your paint pad and attach it to a stir stick (using a hot glue gun is most effective).
Paint pads work incredibly well for getting into small nooks and crannies, awkward corners, and hard-to-reach spots! For instance, behind radiators, toilet tanks, and molding crevices - to name but a few examples!
Prep Your Rollers
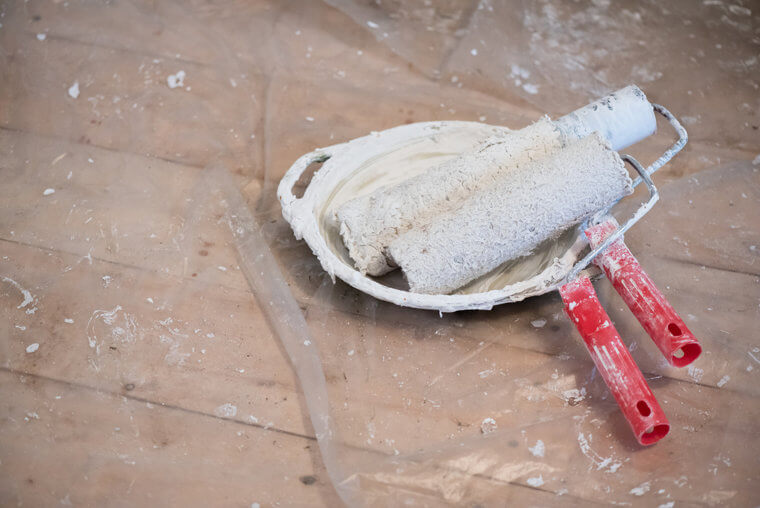
Now, one piece of advice worth mentioning is to take the time to use a lint brush on your rollers before painting. This helps eliminate loose fluff or debris that might come off and land on your freshly painted walls. After that (if it's a roller you've used before), give the roller a quick trim around the edges with a small pair of scissors to remove crusty edges that could prevent you from achieving a smooth finish.
Then, prime the roller with water, and you're good to go! Finally, once you've finished painting, rinse off the roller in warm water, and it should be good as new for your next painting session!
De-Fluff
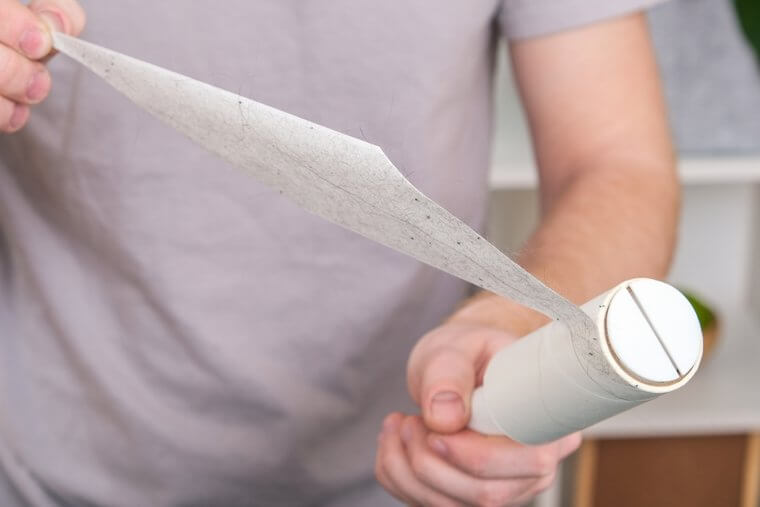
Although we've already mentioned de-fluffing your roller before painting elsewhere in this listicle, it's so important that we thought it deserved its own special mention. One of the best ways to avoid bits of fluff getting into the paint is to give the roller a quick pass with a lint roller. This will pick up any stray fibers, which goes a long way to keeping your walls clean during the painting process.
You can pick up lint rollers from most dollar stores, making them a cheap and effective way to prep your paint rollers before diving into your next DIY painting project.
Microwave Your Tape, Yes, Really
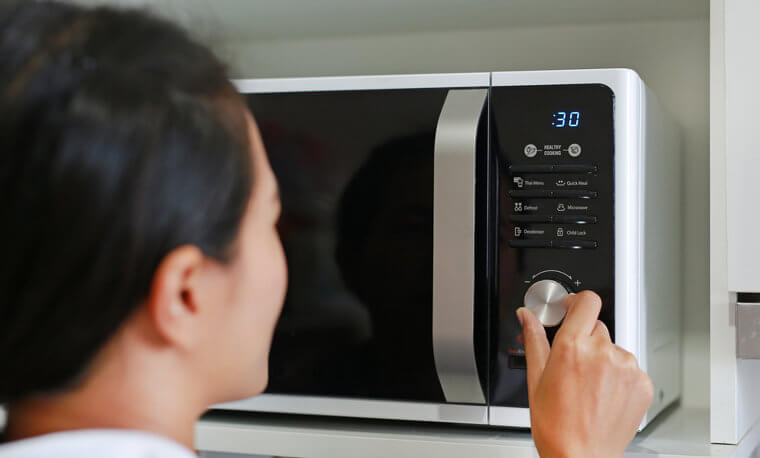
If you’ve already got a roll of masking tape, you might prefer to get started with that. The problem is that sometimes, those old masking tape rolls can get dry and peel off the walls. Surprisingly, the simplest solution is to give it a quick heat-up in the microwave! Just be sure to stick to short bursts of time – no longer than 10-15 seconds – so that the adhesive doesn't end up boiling off and onto you.
This will make it as sticky and effective as a brand-new roll, allowing you to crack on with your painting projects without missing a beat. Just be careful when removing it from the microwave – it can get quite hot!
Caulk Out Any Gaps
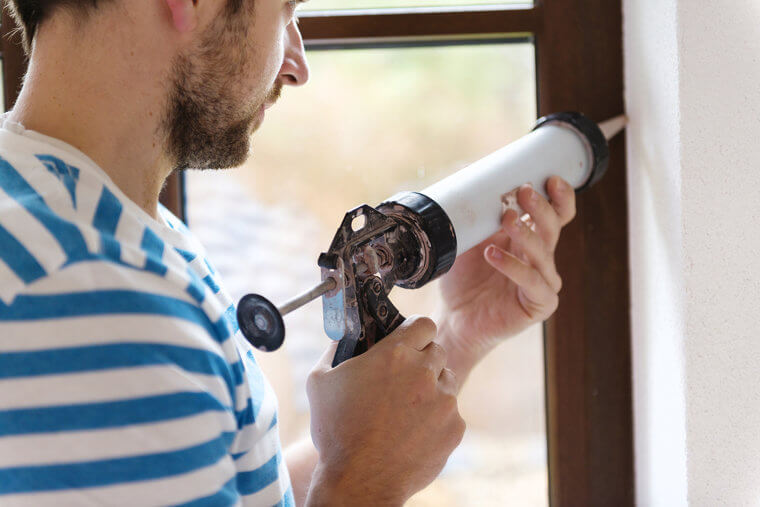
Painting baseboards and trims around the house can be tricky business. But there is an easy way to make uneven surfaces like these more consistent. That solution is caulk! Just run a line of caulk along any holes, cracks, or joints you want to cover up. Then when the caulk cures, it shrinks. This draws in jagged surfaces for a more even and clean-looking finish. It also acts as a sealant.
For optimum results, wipe away excess caulk with a damp cloth after you're done. Just look at the before and after effects in this snap. This simple hack makes a huge difference to the quality of your DIY project!
DIY Spray Paint Can
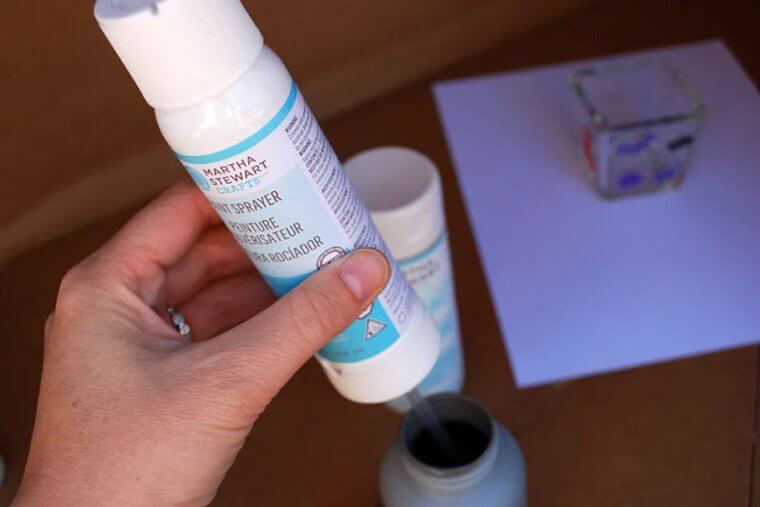
So, let’s say you’ve just realized you missed a spot in your paint job or need to paint an extra item. Instead of tediously painting by hand, you can use Martha Stewart's DIY spray can. This transforms near-on any Martha Stewart craft paint into spray paint. First, mix your colors to create the desired hue. Then, follow the kit's instructions. Once you've done that, you're ready to spray what you need.
Both satin and gloss paints are available. However, it's worth noting that although this is a convenient option, it's on the pricier side. So, it's probably best suited to painting very small areas/items.
The Straight-Line Method
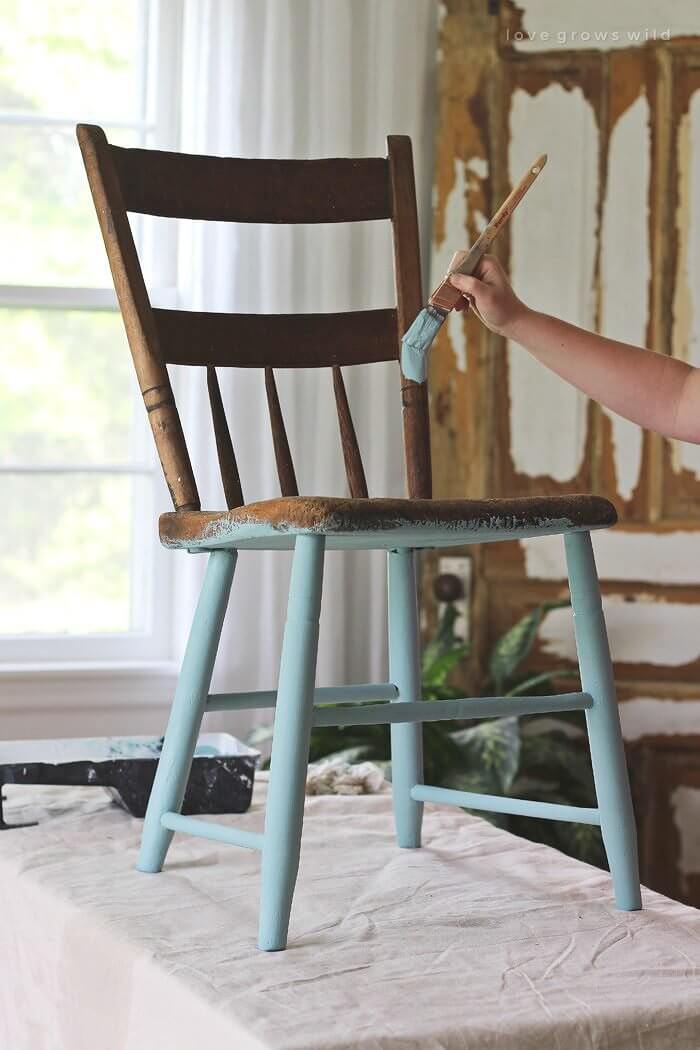
When painting furniture like chairs and tables, the straight-line method usually reaps the best results. Aptly named, this technique refers to the application of bold paint strokes in one direction. This helps produce a consistent and even finish across the entire area and decreases the need for multiple layers of paint. It also lessens the likelihood of ugly roller or brush marks. The same applies when you apply your second coat - make sure you paint in the same direction as the first.
If you're painting wooden furniture, be sure to go with the grain for the best results. It's also best to use a lighter pressure and aim for long, even strokes.
Use an Angled Brush for Awkward Spots
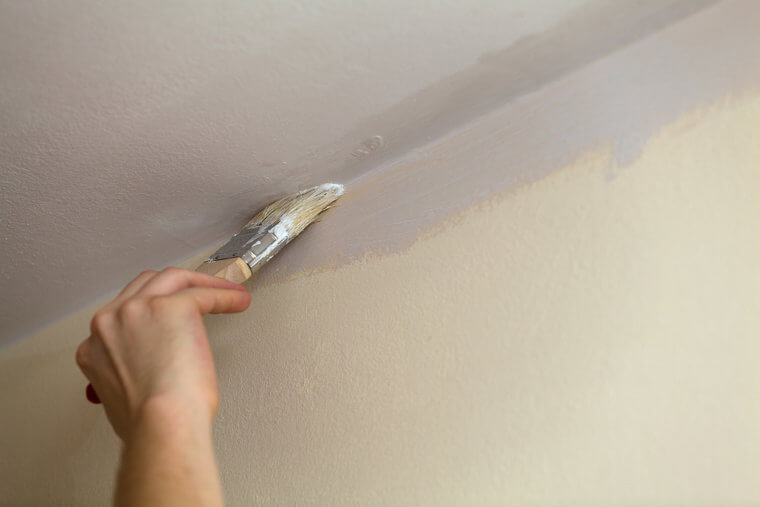
Painting awkward areas where there's a crease in the surface (like window sills, trims, ornamentation on the walls, etc.) can be tricky, especially for newbie painters. But fear not – there's an easy and effective solution: the angled brush! An angled brush lets you reach into nooks and crannies quickly and evenly, so you can get to those tiny crevices that regular brushes wouldn't fit. And don't worry about uneven strokes either.
By angling the brush correctly, you can apply your paint in smooth, even lines. So next time you're tackling a tricky area, consider reaching for an angled brush – it just might save the day!
Gold Accents
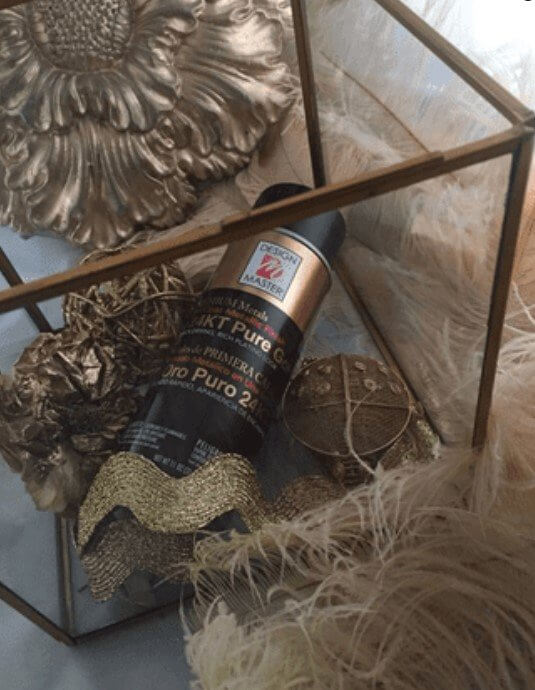
Adding a touch of gold can be a great way to give your furniture an elegant and classy feel. Fortunately, achieving this look is easier than ever with the use of gold spray paint. Gold spray paint is available at most hardware stores and offers an easy, mess-free way to get that perfect golden sheen. With a few quick sprays, you can transform near-on any piece into something uniquely stunning.
So if you're looking for a simple way to transform something dull into a statement piece, don't forget to pick up some gold spray paint to add to your DIY arsenal!
Paint Dots to Create a Statement
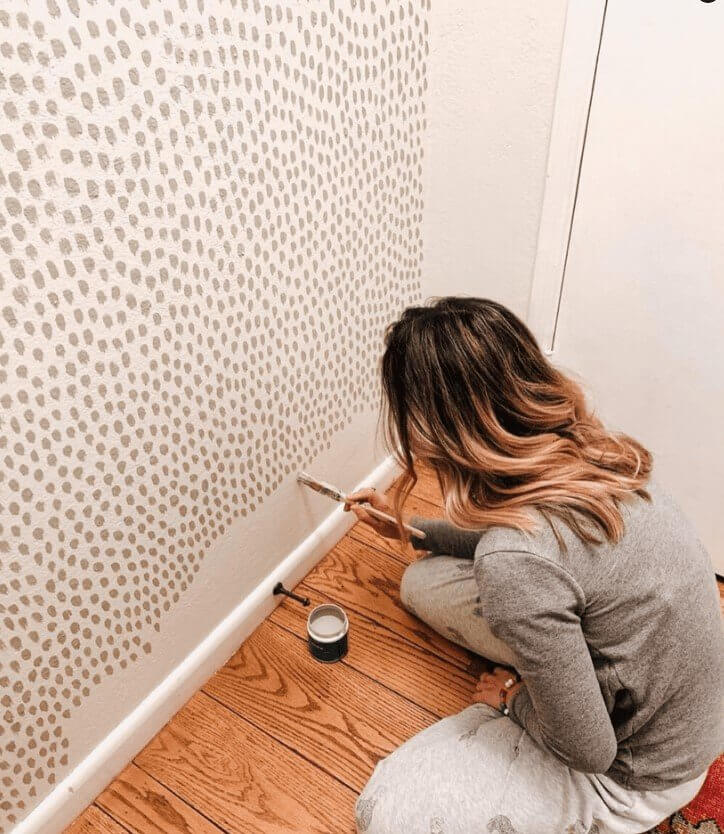
Why not paint dots to create a statement wall? First, paint your wall a base color (in this example, the painter is working on a cream wall). Then, dab small dots in a darker, contrasting shade using a small paintbrush. This easy technique provides plenty of scope to inject interesting texture and depth into a room. Plus, there are plenty of opportunities to create abstract designs and get creative with arranging your dots.
So if you are looking for a more unique way to spice up the walls in your home, why not try this unusual painting hack? It just might yield some stunning results!
Q-Tip Perfection
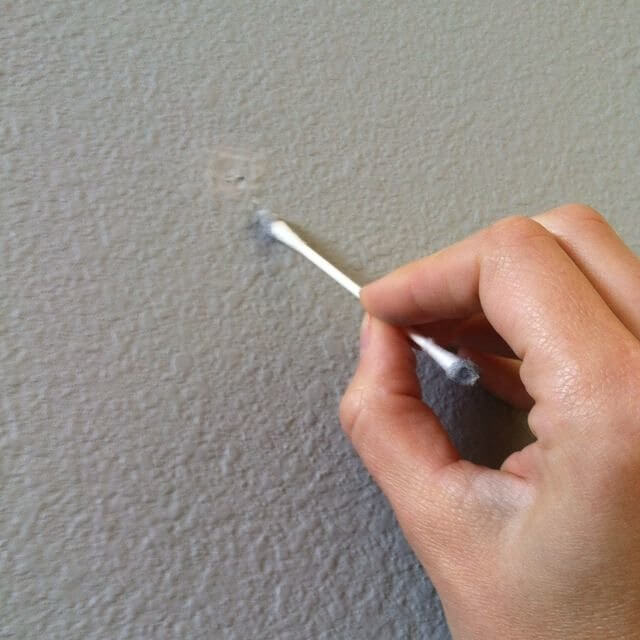
We all know mistakes can happen when we embark on DIY painting projects. Unfortunately, sometimes it's difficult to remove them without damaging the rest of your work. But luckily, there is a super easy solution. Just grab a Q-tip. Q-tips are so small and lightweight that they won't impair the surrounding paintwork. These handy tools allow you to accurately remedy blemishes and reach corners, cracks, and other hard-to-reach places too.
So if you ever need to fix a mistake but don't have the right supplies, a Q-tip could be all you need! If you don't have any in your bathroom cabinet, just head to your local dollar store to pick up a pack.
Prevent Paint Cracking on Metal Surfaces
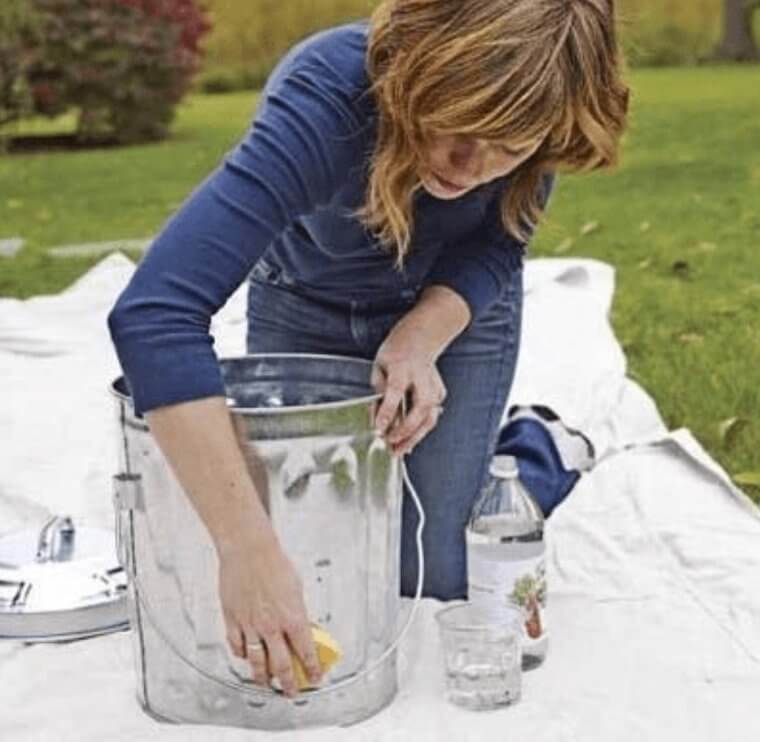
So, one big issue with painting metal surfaces is the paint cracking and rusting later down the road. Fortunately, there is an effortless way to ensure your paint job remains intact for longer: rub the item down with vinegar before you begin painting. This simple yet effective step will help prevent the metal from rusting and cracking after you've completed the paint job. The vinegar acts as a protective barrier from the elements and will keep your hard work looking its best.
So what are you waiting for? If you're thinking of painting a metal surface, head to your kitchen and rummage through the cupboards to try and find a bottle of vinegar!
The Easy Way to Remove Excess Paint
Believe it or not, removing excess paint doesn't need to be a messy job. All you need is a rubber band and your paint tin. Then, simply place the rubber band over your paint can. Then when you are ready to paint, dip your paintbrush into the paint container and brush off the excess against the rubber band. As pictured, you should be able to do this with one smooth motion.
Compared to wiping your paintbrush on the edge of the can, you are way less likely to create any additional mess. Kiss goodbye to cakes of paint around the edges of your paint cans!
Avoid Wasting Paint
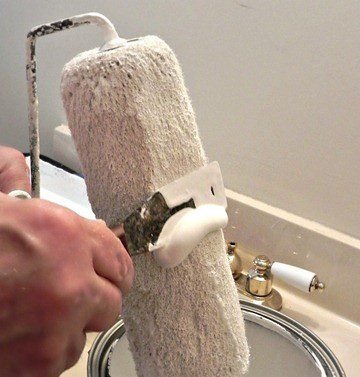
For painters, wasting paint can be the bane of their existence. But don’t worry; there's an easy way to avoid this pesky problem: use a scraper! When painting with a roller, press down on it with a scraper, and use it to wax off the surplus lacquer and place it back into the tin. Not only does this ensure you're not wasting valuable resources, but it also helps maintain your workspace and keep things neat and tidy.
So if you're looking for an easy way to keep your painting costs down and stay more organized during your next project, try using a scraper to wax off the excess paint from your rollers.
The Slobproof Pen
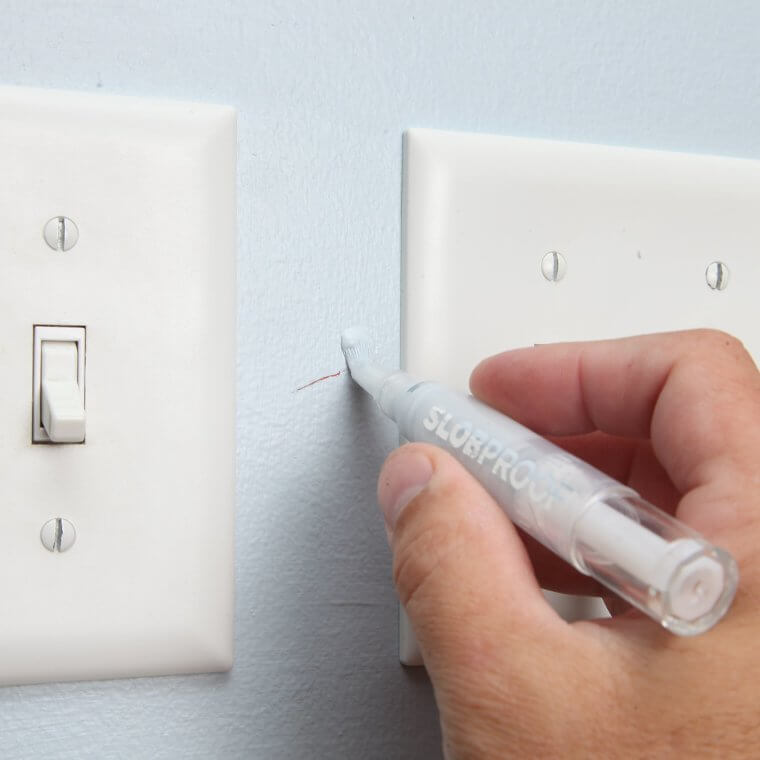
Another option for repairing damage to your paint job is the Slobproof pen. This is especially handy for fixing small areas. Unwanted mistakes inevitably happen, and often they're difficult to fix. But with a Slobproof pen, you can quickly repair those minor deteriorations without an entire paint job. You simply fill up the pen with matching leftover paint, and you're ready to go. Just like using a pen, you color over whatever needs correcting.
You can fill this pen with whatever latex paint you need. If you don't have one, you can get yours from the Slobproof website. Alternatively, you can head to Amazon.
Create a Smooth Finish
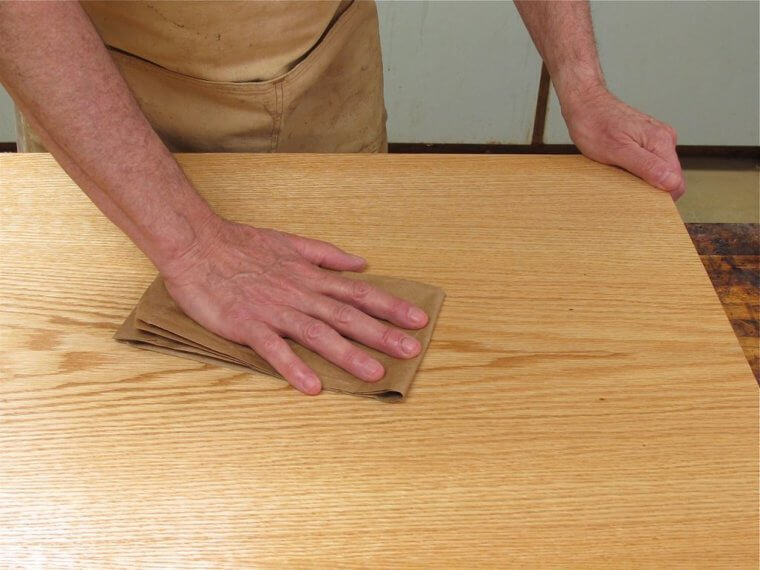
Okay, so let’s say you’ve finished all the major paintwork and touch-ups, but how can you create a smooth finish? Sandpaper can be too harsh for the job and may end up scratching off the paint if used improperly. A paper bag offers a gentler solution for removing any bumps or grit without risking damage to your paint job. Simply fold the paper bag and lightly run it across the surface until the rough spots have been ironed out.
It's an easy method to help you achieve the desired result in next-to-no time! So next time you're ready to wrap up your painting task, grab a paper bag instead of sandpaper.
Wax Out Antiques
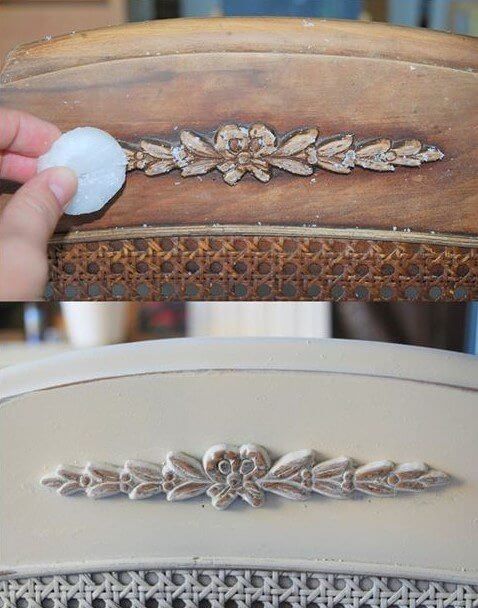
If you want to create an antique look without damaging your paint job, all you need is a piece of candle wax, and you're ready to go! First, light the candle and let it melt a bit, then blow out the flame and gently rub it over your furniture. The wax will create a unique design that will give any piece of furniture an instant 'lived-in look' while preserving the paint underneath.
Plus, since wax is softer than paint, it won't cause any scratches or abrasions. This is an excellent option for those looking to give their pieces an extra special touch without spending too much time or money.
Done? Time to Seal Your Paint
One of the most daunting parts of any paint job is the clean-up, especially if the job lasts several days. So, rather than cleaning all your brushes at the end of each day only to use them again the next morning, a plastic bag with an airlock closure could present a convenient solution. Just cover your brush with the bag (as shown in this picture) and close it tightly to keep the air out.
This is ideal for those needing to pause their work without worrying about their paintbrushes becoming unusable. Then when you’re ready to start painting again, remove the cover and pick up where you left off!
Bring Out the Cleaning Supplies
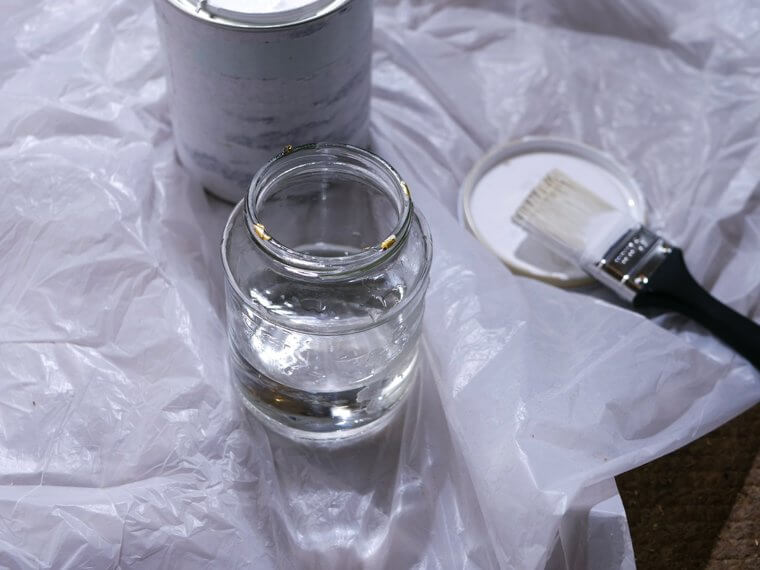
Now you’re finished, let’s talk about easy cleanup. An affordable and easy option is distilled white vinegar. Soaking your brush in warm vinegar for 30 minutes removes any accumulated paint residue. It also helps disinfect and soften the bristles afterward. This helps maintain your brush's integrity and longevity, saving you time and money in the long run. Distilled white vinegar is also a natural solution, so you don’t have to worry about introducing harsh chemicals into your workspace.
It’s also a great alternative because while buying paint thinner is the common go-to, it can be expensive. You may also find that you already have some white vinegar in your kitchen cupboards!
Don’t Mop, Wipe
Lastly, it's time to clean the floors, but before you pick up the mop, let’s bring out the wipes instead. While a mop can be used to clean up spills, it can also introduce more moisture on the floor, which can cause paint to spread out and smudge. In contrast, makeup wipes are absorbent and can easily capture stray droplets with minimal effort. They’re convenient as they don’t need water or detergent—just a quick swipe should do the trick.
You can use this with wet and dry paint alike. Plus, you won't need to worry about having wet floors for hours afterward, so you can get on with whatever you're doing with your day near-on immediately!

