Create an Activity Advent From Wood
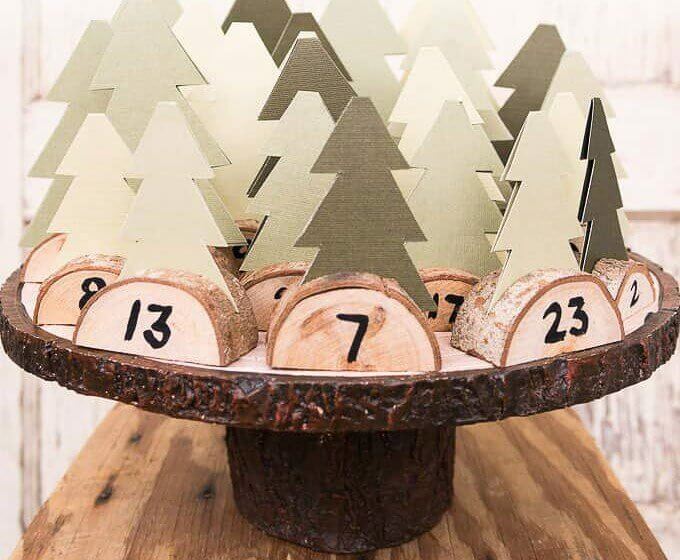
Most people want to start their days with a festive chocolate or a small gift, but Advent calendars don't have to contain physical objects. If you want to make a DIY Advent calendar for someone who already has it all, you could opt for an activity Advent instead. One of the best ways to do this is to cut out a Christmas tree shape from card and then write an activity on the back.
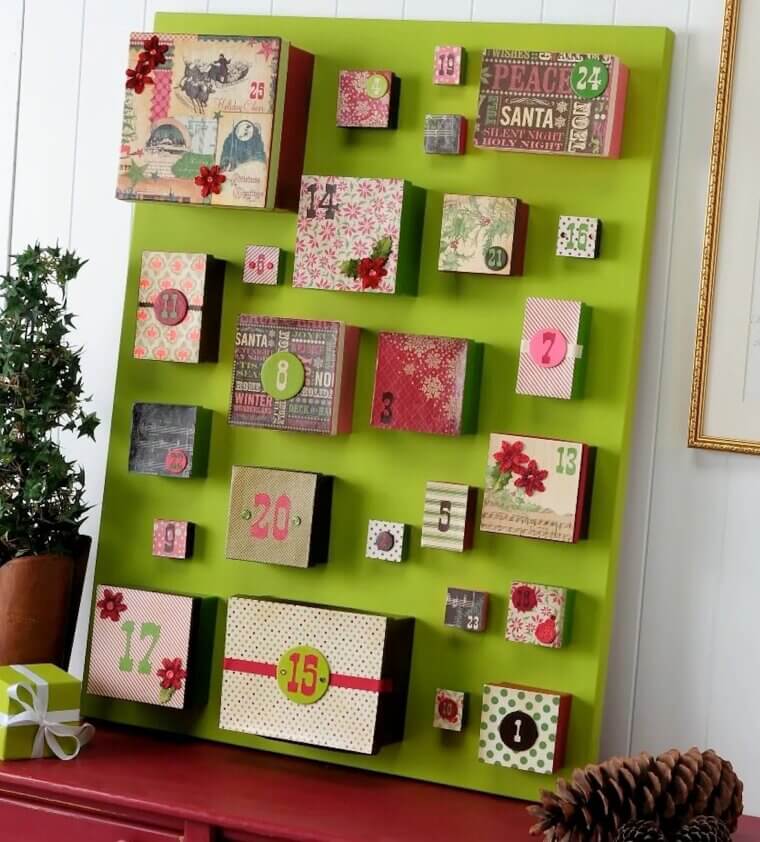
If you want to make it extra fun and festive, you can then slot the card into a wooden block adorned with the number of the Advent to ensure they're opening them in the right order.
Make a Festive Fabric Advent Calendar
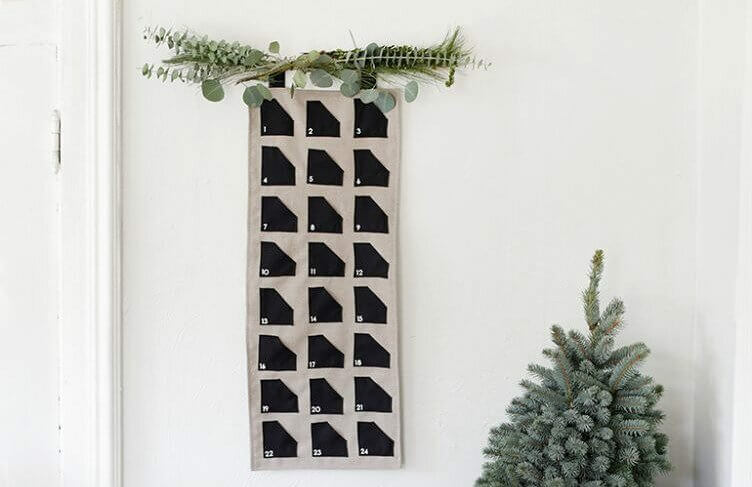
Feel like your walls need a little festive flair? Well, you could make your own fabric Advent calendar to hang on it. This is incredibly easy to do, and you don't need to be a talented sewer to get the job done. All you need to do is cut out your base shape - whether that be a simple rectangle or something more festive like a Christmas tree - and then hot glue gun 24 smaller squares onto it.
Of course, you'll need to make sure that you only glue around three sides of these squares to create little pockets. But then you can fill them with anything you like.
Make Your Own Mini Advent Boxes
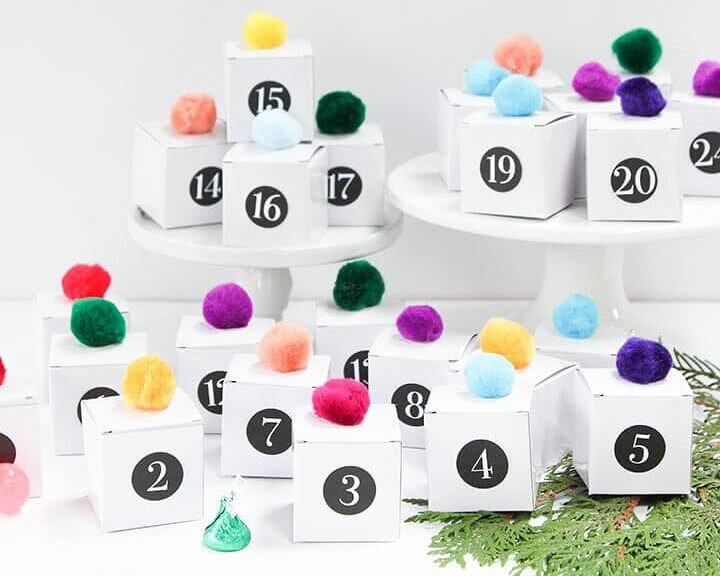
One of the best things about having an Advent calendar is heading downstairs each morning and opening up the door. And if you want to give your loved ones an even bigger and better door-opening experience, you can make your own mini Advent boxes. Although you can buy these pre-made if you want to, you could also stretch your origami fingers and make them yourself with a few bits of card and some precise folds.
You then have the option to decorate them as you please and fill them with as many festive treats as you like. It'll be like a mini Christmas every morning.
Fill Colorful Paper Bags for Advent
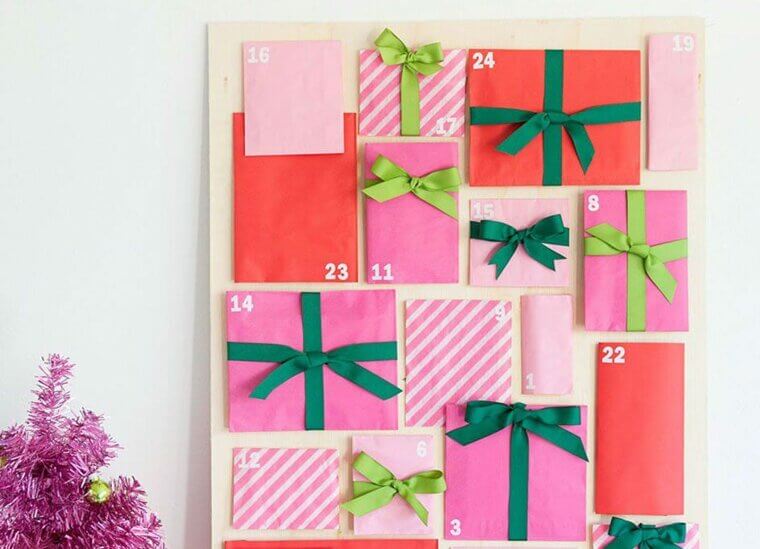
Go to any dollar or craft store, and you'll come across colorful paper bags. These are normally for candy or presents - which you'll probably put in your advent - but you don't need to use them in the traditional way. Although you could simply pop these things in a bag and hand them to your loved ones every day, you could also fold these bags over and then stick them to a larger piece of card.
This way, the recipient of the Advent can peel it off the cardboard each day, unfold it, and see what's inside that way. It just adds a little more excitement to the morning.
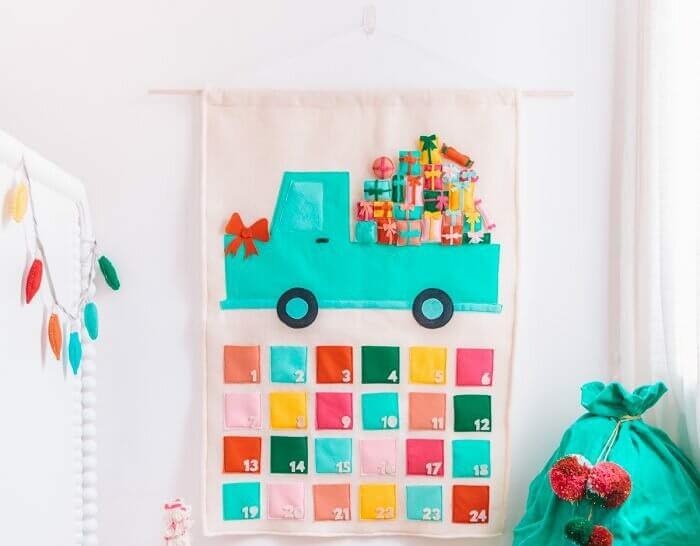
Make a Fun, Felt Advent
If you want to DIY your own Advent calendar, felt will be your best friend. This fabric is easy to source, cheap to buy, and incredibly simple to work with if you have a hot glue gun at your disposal. Plus, it normally comes in a wide range of colors so you can make a fun, felt Advent that suits the person you're making it for perfectly. After all, you can opt for a bold and vibrant theme.
As long as you have one big piece of felt and 24 smaller pieces, the felt Advent world is your oyster. Just remember to number the squares and choose the perfect gifts for inside.
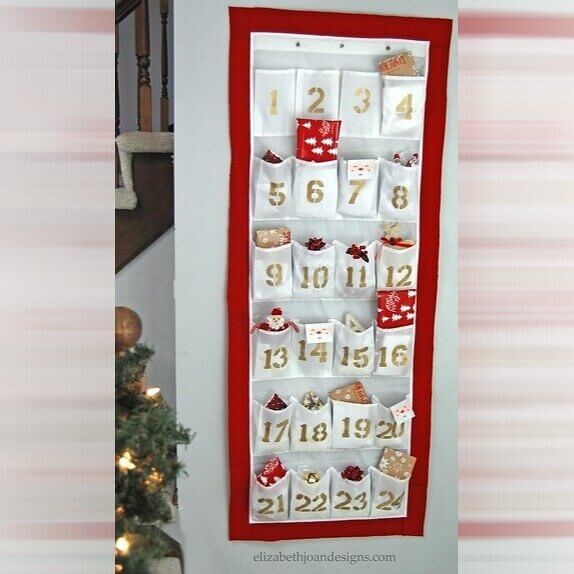
Use a Shoe Organizer for Each Day
Do you have any spare shoe organizers hanging about? These are the shoe organizers that hang on the back of a door and offer ample space for your shoes. But if you want to give bigger gifts as part of your DIY Advent calendar, you can use this space for presents, too. Simply use each shoe slot as a day of the month, and fill with whatever you want to give them.
Just make sure to number the slots and be warned that you may have to use two of them if you can't find one that has at least 24 slots on offer.
Hang Fabric Bags With String
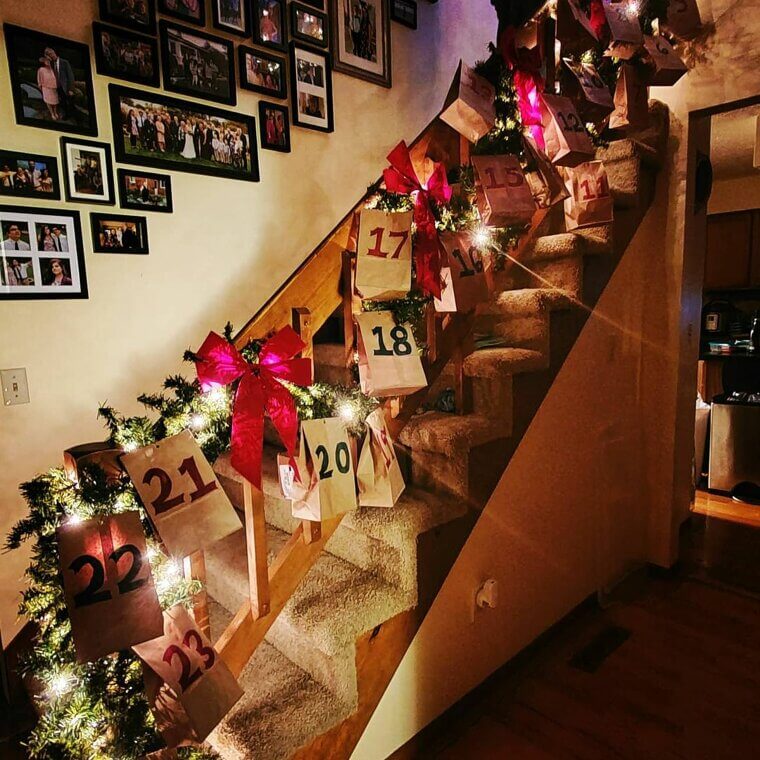
When you think of an Advent calendar, you probably think of something that is rectangular or square in shape. But who says that has to be the case? There are so many amazing ways to DIY an Advent calendar, and hanging fabric bags with string is a cute and unique idea that can also be a lot of fun. To make this, all you need are 24 small fabric bags, some string, and something to hang them from.
This could be anything from the bannister in your home to a small piece of driftwood covered in Christmas lights. Then, simply fill them up with treats before December 1st.
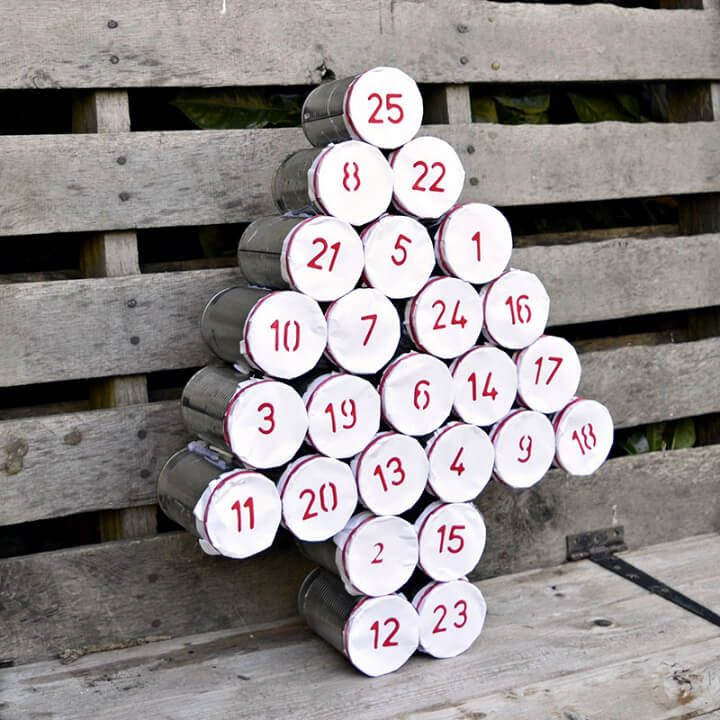
Recycle Old Tins for Each Day
Hands up if you throw away a few tin cans each week? Well, if you're prepared enough this year you could save these tin cans and use them to make your own DIY Advent calendar instead. You'll need to thoroughly wash and clean any food residue off them before you fill them with your Advent gifts of choice, but you can then go wild with the decoration and the filling.
And while these tin cans won't have lids, you can simply grab some paper or fabric and place it over the top before securing it with some festive ribbon. Then, they're easy to open each morning.
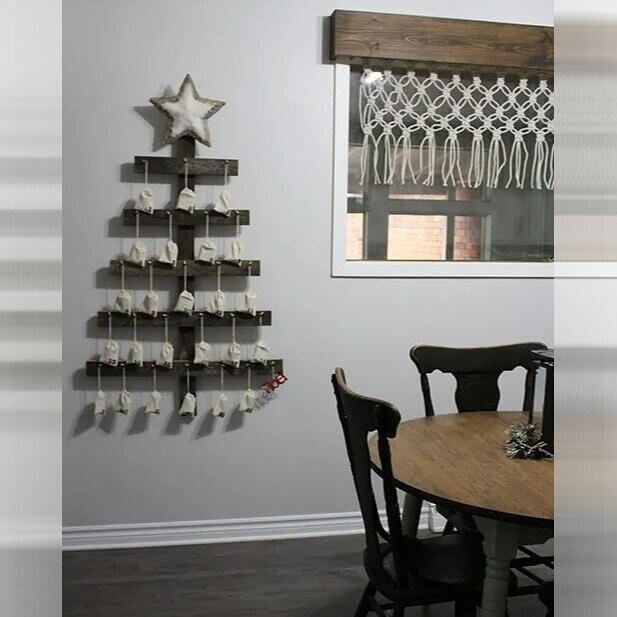
Make a Wooden Advent Tree for the Wall
While the idea of making something out of wood may sound daunting, making a wooden Advent tree for the wall isn't as difficult as it sounds. You don't need to be a carpenter for this job, and you might already have some spare wood lying around in the garage. But the idea with this DIY Advent is that you create a Christmas tree shape with a few rows of wood, gradually getting smaller as you get to the top.
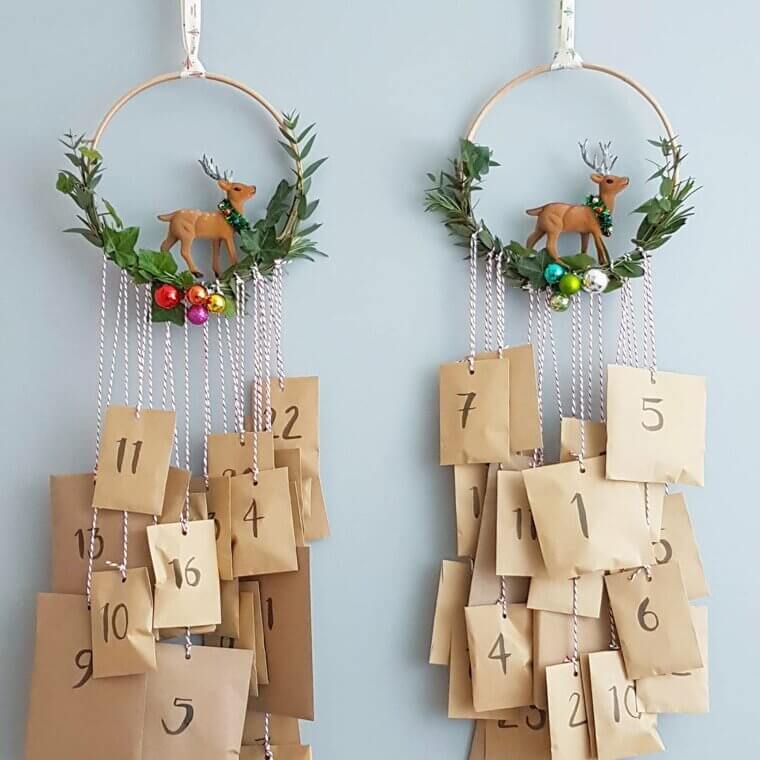
You can then top the whole thing with a star or an angle and get to work on the Advent days. For this, we'd suggest hanging envelopes or small jute bags with ribbon from some small nails.
Fill Envelopes for Each Day
You don't need anything fancy or expensive to make your own DIY Advent calendar. Sometimes, all you need are 24 (or 25) brown envelopes to hand. You can then grab a pen and number before filling each envelope with a different Advent treat. Of course, if you want to spoil your loved ones with bigger gifts, you can opt for larger brown envelopes. And then you can decorate them to your heart's content.
If you want to add an old-school flair, you can seal the envelopes with a wax seal, or you could decorate the envelopes with festive stamps that will elevate the brown paper. It really is as simple as that!
Combine a Calendar With a Garland
You probably don't need us to tell you that Christmas garlands are becoming more and more popular. People are adorning their front porches and their fireplaces with this festive foliage, and they can serve as a real focal point in your home. But what if you combined this garland with your DIY calendar? All you have to do is hang your gifts from the garland that's already there, after all.
You can hang anything you want from this garland, but we love the idea of hanging small buckets or bags from it. This way, there'll still be a distinction between the two.
Create a Rustic Chalkboard Calendar
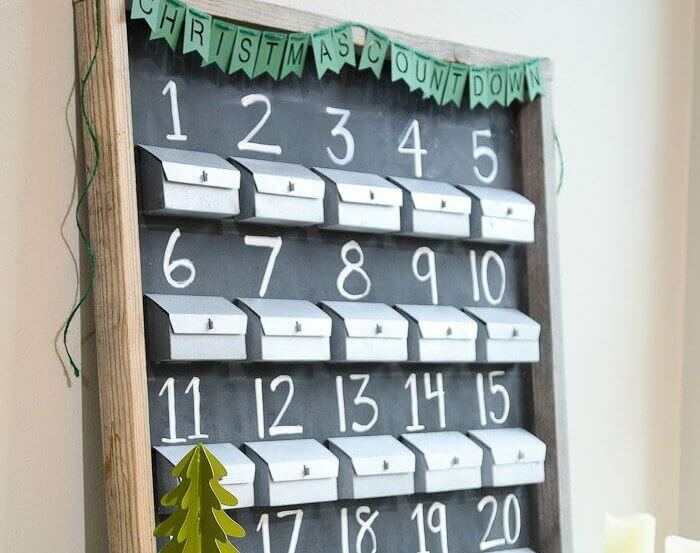
Let's be honest; some Advent calendars can look extremely cheap and tacky, and they often don't fit in with your home decor. But if you want to ensure that your DIY Advent calendar fits in with your home's aesthetic, you can make a rustic chalkboard calendar instead. For this, you'll need a magnetic chalk board so that you can attach small metal boxes to fill for each day of December.
You can then decorate the chalk board however you like, or get your kids to draw on it after they've opened their Advent for the day. The opportunities are endless.
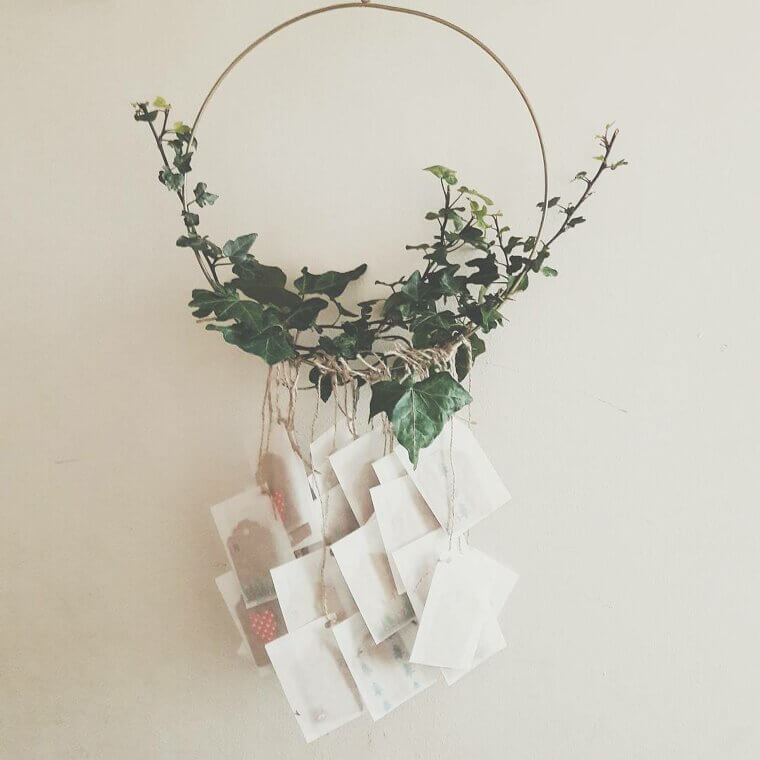
Make an Embroidery Hoop Advent
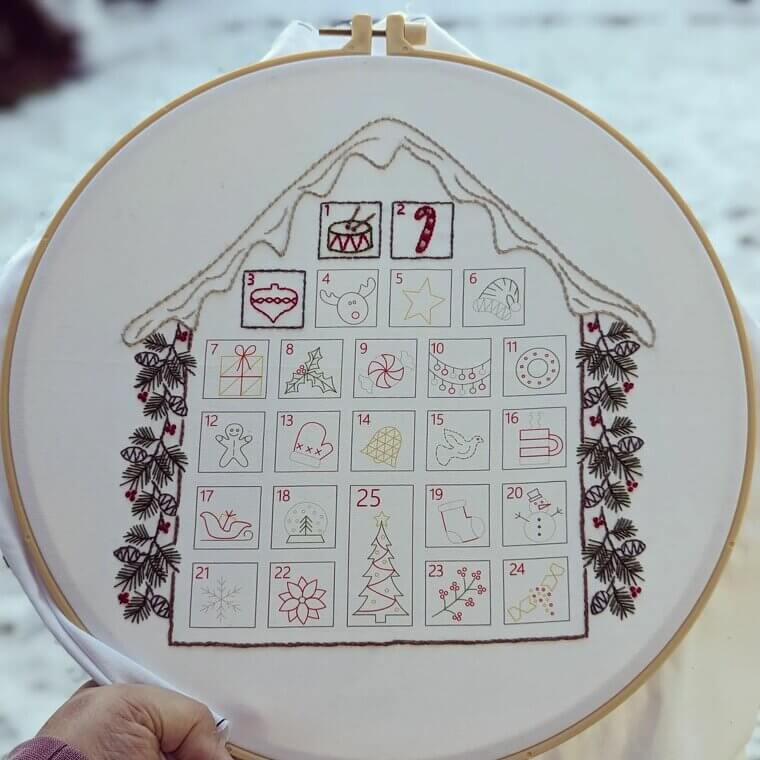
Sometimes, finding the base for your DIY Advent calendar is the hardest part. Although cardboard can work well, many find that it can be quite harsh for something so fun and festive. Thankfully, there is another alternative - an embroidery hoop! This hoop serves as the perfect base for the many days of the Advent, and you can fill it with the fabric of your choice. This way, you can create your own color scheme and theme.
Then, you can choose how you want to attach the advents. You can simply attach a few fabric pockets with pins or go the extra mile by attaching little bags with clothespins.
Create a Mason Jar Countdown Advent
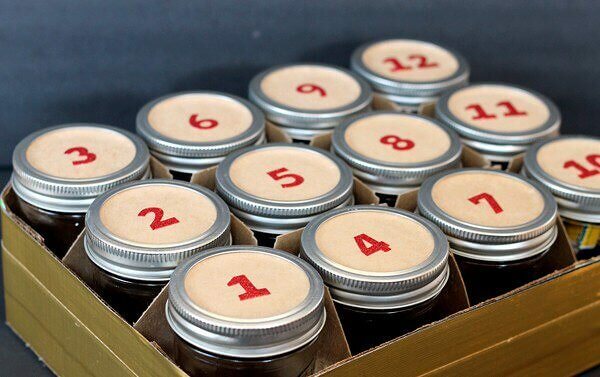
Mason jars are a staple in every household, whether you buy them to make your own jelly or to store your homemade cleaning products. But if you want another use for them, you might be interested in knowing that you can create a Mason jar countdown Advent with these jars. In fact, they're perfect for storing little chocolates and gifts, and you can decorate the lids to your heart's content.
If you don't want to give away the surprises inside, you can also wrap the jars up with festive paper. Alternatively, store them in a box with only the lids poking out so you can't see inside.
Craft a Christmas Village Advent Calendar
If you have some spare time on your hands and really want to go all out with your festive Advent calendar, you could brush up on your origami skills and craft a Christmas village Advent calendar instead. Of course, this isn't something that you can whip up in an hour, and will probably take you a few days to build a cardboard origami house for each day - especially if you want to make them all different.
However, we have no doubts that it'll be worth it when you put 24 houses together, fill them with gifts, and surround them with string lights to create the ultimate festive village.
Make an Educational Advent for Kids
If you have kids in your family, you might already know that they'll be spoiled with various Advent calendars. From chocolate and candy calendars to toy calendars, you might not want to add even more sugar or clutter to their daily lives. Thankfully, there are ways to make Advent calendars both educational and exciting at the same time - and you'll need some kids' magazines to bring this to life.
If you choose the right articles and activities, simply cutting these out and numbering them should be enough to keep the kids happy. But you can add your own artistic license into the mix, too.
Make a Scratch-Off Advent Calendar
No matter how old you get, scratching things off to reveal the contents underneath will never get boring. So, why not use this to your advantage when making a DIY Advent calendar for those closest to you? Although this sounds hard, it's super easy to source scratch-off stickers from the craft store, and you can normally personalize these to add whatever you want - from a festive activity to an I.O.U.
You can then stick these stickers wherever you please. You might want to stick them to Christmas decorations hidden around the house, or make your own wooden keepsakes to stick them to.
Hang Festive Paper Bags on the Wall
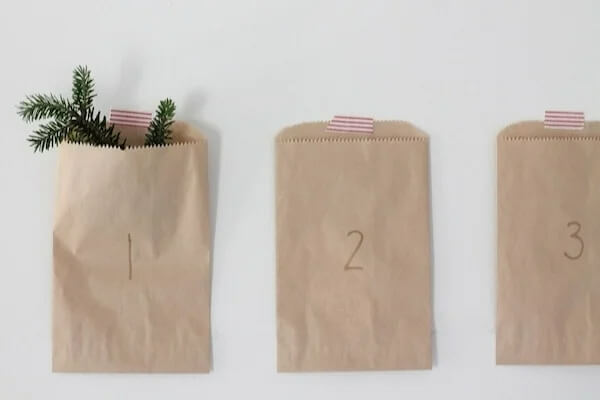
If you don't have floor or counter space for a large DIY Advent calendar, why not make use of your walls? This way, you have oodles of space to hang whatever you like - but you might want to consider using paper bags for this hack. This way, you can add in the little gifts, fold up the bags, and then hang them from a piece of wood - or just directly on the wall itself.
Just remember to decorate the bags and make them as fun and festive as possible. And, of course, you need to make sure that you number them so your recipient doesn't get confused.
Make a Bottle Cap Beer Tree
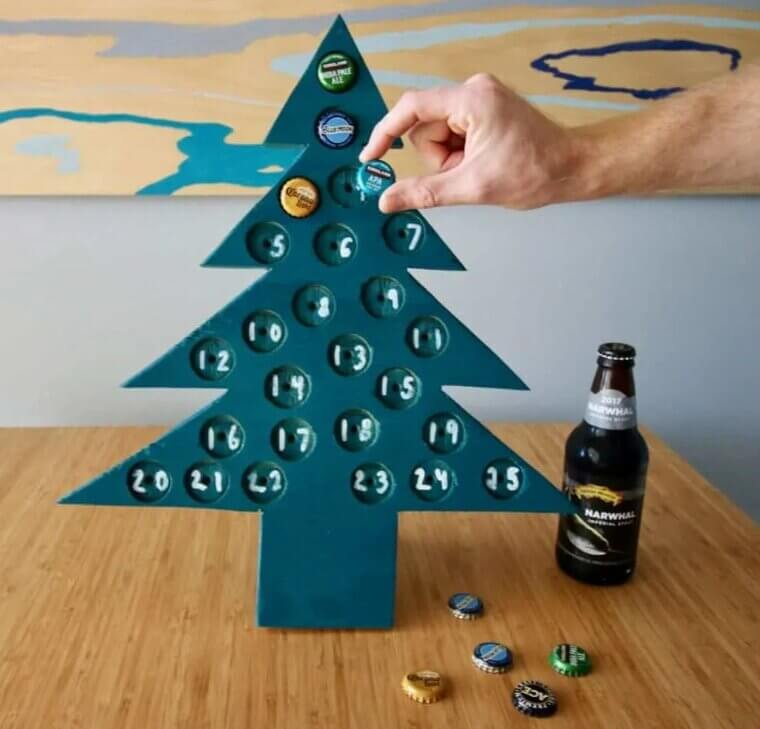
If someone in your life really loves beer, this is a great way to show them you care while also giving them the chance to try new beers. For this, buy 24 different beers - preferably ones that are different to the beer they usually drink - and then make a Christmas tree bottle cap holder from wood. This is pretty easy, as long as you drill holes that are the same sizes as the bottle caps themselves.
Then, when your recipient has finished drinking each beer, they can slot the beer cap into the Advent calendar and keep it as a memento of your love - and their love for beer.
Keep It Simple With Brown Paper Bags
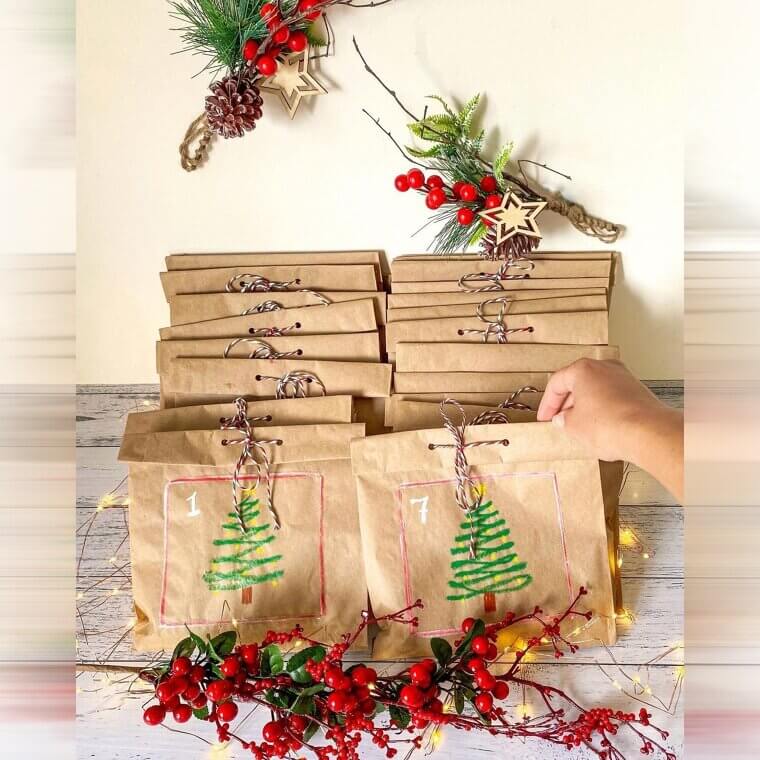
If you'd prefer to keep it low-key for your DIY Advent calendar, you don't have to use anything fancy or garish - and you don't even have to put too much work into it. Simply grab some paper bags, write the numbers on the front, and fill them with some chocolate or a small gift for each day of the month. Then, it's down to you whether you decorate them or not.
When you have these paper bags filled, you can then decide what you want to do with them. You could either hide them around the house as part of a hide-and-seek game or hang them on the wall.
Transform a Wood Pallet
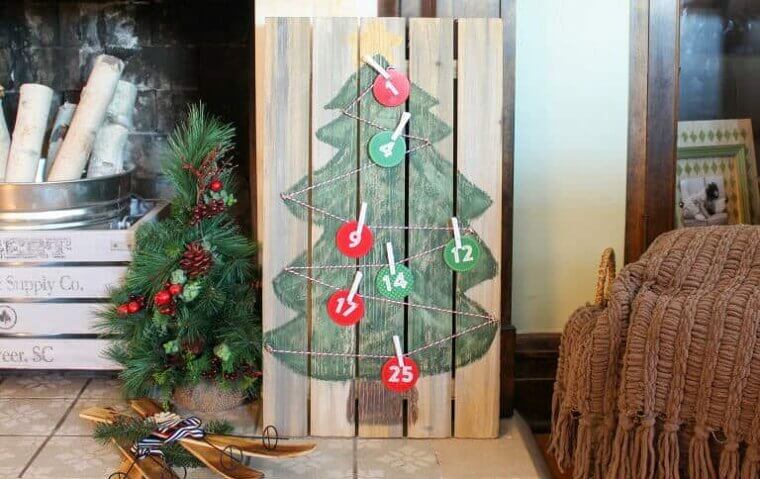
If you ever find yourself with a wooden pallet and you're not sure what to do with it, keep it in the garage - because you never know when it'll come in handy. After all, you can use a wooden pallet to make a DIY Advent calendar for your home. This is a great way to ensure that nothing ever goes to waste, and it can make an impressive feature in your living room.
To do this, simply paint a Christmas tree or other festive design onto the wood and attach your Advent gifts with string and a few nails. It's simple but effective.
Make Some Advent Fortune Cookies
If you don't want your family members eating too much chocolate or candy in the run-up to Christmas, you could skip the food altogether and create cardboard fortune cookies instead. These are incredibly easy to make if you know how to fold them correctly, and they look pretty fancy when you use festive cardboard to complete the job. Then, you can slide your fortunes inside - making sure that they're Christmas themed, of course.
It's then down to you where you want to put them, but we'd suggest keeping them safe in a jar so your loved ones can pick it out easily each day.
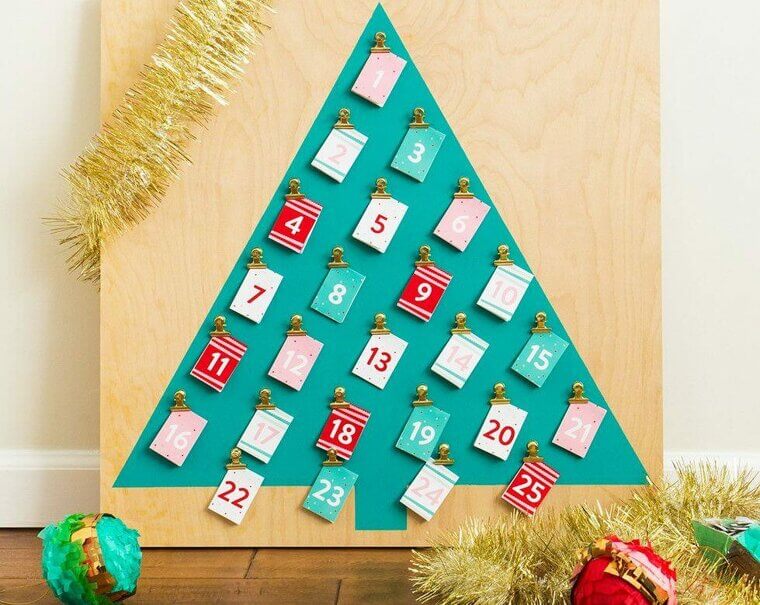
Cover a Poster Board With Your Calendar
The beauty of making your own Advent calendar is that you can make the rules. You can flip the idea of an Advent calendar on its head if you really want to, and you can try something out just for fun - even if it doesn't end up the way you'd like it to. But if you want a cool and quirky idea, covering a poster board with your calendar could be a good shout.
To do this, you can attach 24 or 25 items of your choice - whether that be a gift or an activity - to the board with pegs or clips, and then you're done!
Use Monochromatic Tags
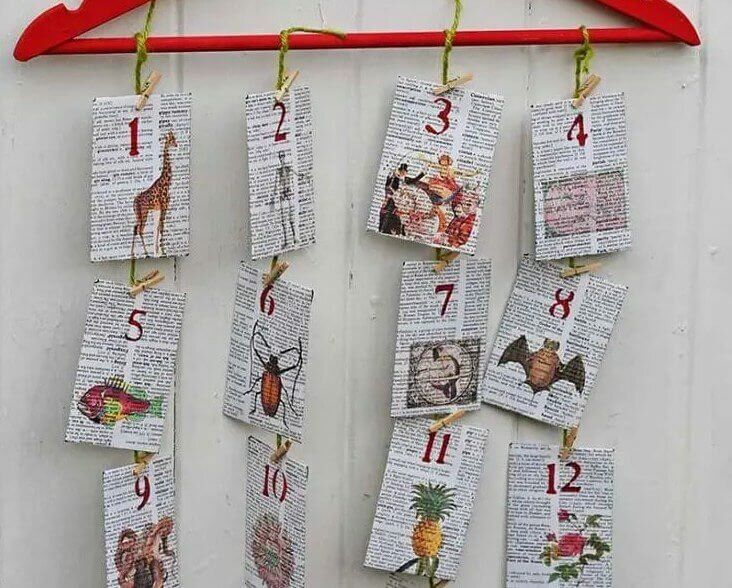
If you want to stray away from the typical reds and greens of the festive period, might we suggest opting for a monochromatic DIY Advent calendar instead? This is incredibly easy to make, and all you have to do is head to the craft store and buy some black, white, and gold gift tags. You can then hang them from anywhere you like and write your gift on the back.
When all hung together in one, they'll add a different pop of color to your home and really make a statement. Plus, you can get super creative with the written gifts of activities!
Hang It Over the Fireplace
There's nothing better than having a roaring fire over the festive period. Not only does it keep you snuggly and warm, but it also serves as the perfect excuse to roast chestnuts and marshmallows. But even if you don't have a fireplace with a real fire underneath, you can still use it to hang up your DIY Advent calendar. You don't need anything fancy or oodles of materials to do this, either.
Sometimes, all you need are some hessian bags and some string or sticky tape to hang them up. Just make sure that you number them or place them in order from one side to the other.
Make Your Own Advent Christmas Lights
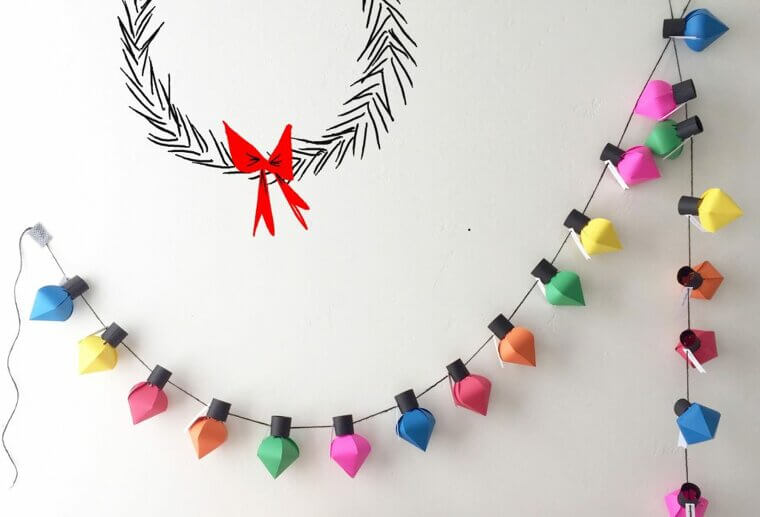
There's a high chance that you already have some Christmas lights to hang around and in your home during the festive period, but have you ever considered making your own? Although these ones won't actually light up, they can be used to house 24 or 25 little gifts for your loved ones during the Advent period. All you need is some colored cardboard and some string to bring this to life.
Then, you'll need to showcase your best origami skills to fold them into the light shape, but when that's done the only thing you need to do is find a place to hang them.
Fill the Gaps of an Old Shutter
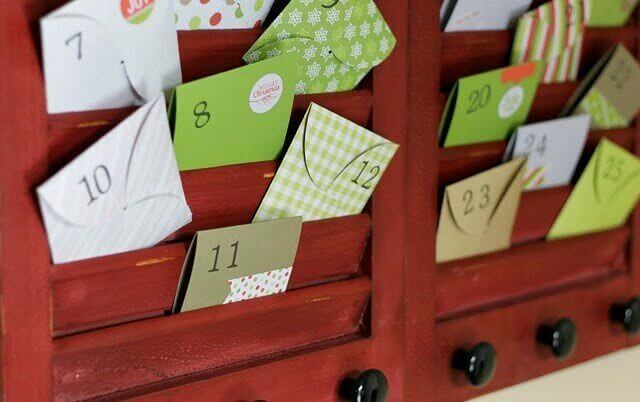
Window shutters don't suit everyone, and if you have some old shutters lying around - or you can pick some up fairly cheap - they can make a great addition to your DIY Advent calendar creation. That's because the slats in the shutters act as their own little mail holder, which is ideal if you want to spoil your loved ones with coupons, experiences, or activities that will just slot right in there.
Of course, if you want to add that festive flair, you can paint the shutters red and use colorful, patterned envelopes to make it look extra special for your family.
Make a Mismatch Box Advent
If you regularly buy shoes or anything online, you'll probably have a spare few boxes lying around the house. Most of us keep them 'just in case,' but in reality, we'll never need them again - so you might as well use them to make a mismatch box Advent calendar. To do this, all you need to do is wrap these boxes in the festive wrapping paper of your choice. Ideally, choose a few different designs.
You can then number these boxes and fill them with gifts and food for the recipient, and the lids will ensure that they're kept safe and secret until the correct day.
Fill a Mini Muffin Tray
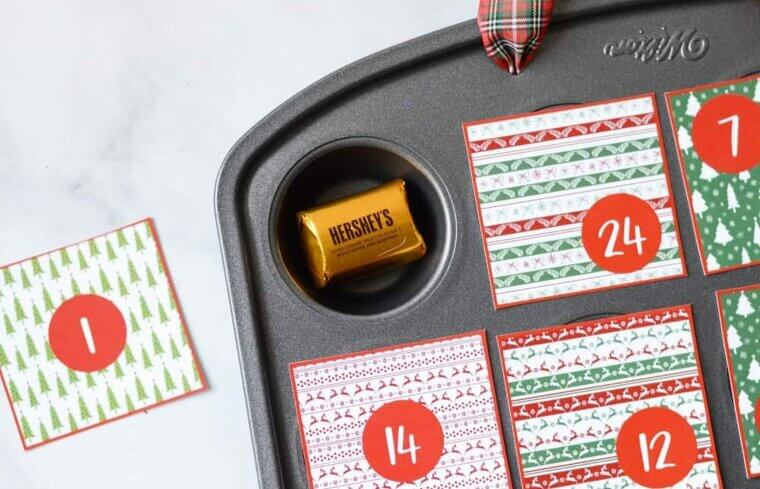
Do you have a mini muffin tray in your kitchen? We're going to assume that you do, as this is a staple for most people. But if you don't plan on making any festive mini muffins before the big day, you could use it to make your DIY Advent calendar instead. In fact, you'll need a couple of them to have enough for the 24 days running up to the big one.
Then, you can pop some treats into each hole and know that they're safe and sound. You then have the option to cover them up with some kind of festive paper, or keep them exposed.
Go Unique With Gumball Capsules
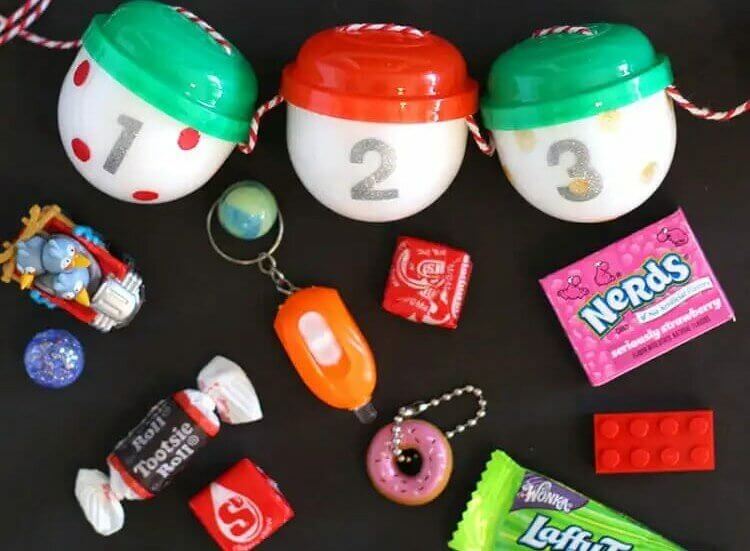
This one may be a bit niche, but if you're the kind of person who loves to keep gumball capsules after grabbing a snack from a machine, you can now put them to good use. Instead of keeping them in a cupboard to gather dust, you can fill them with your Advent gifts and use them to create the coolest calendar for yourself or someone you love. It works nicely, too.
These capsules offer the perfect place to store small gifts and candy safe, and you can even cut some holes into them and hold them all together with string to create a garland.
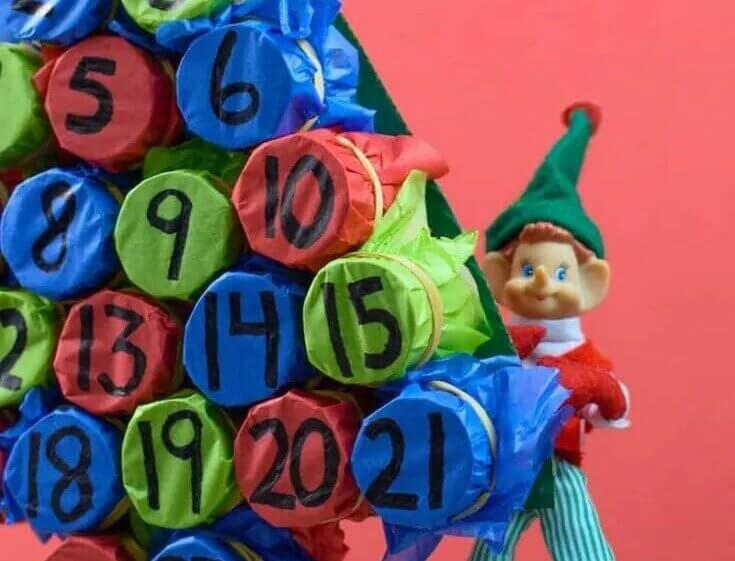
Craft an Advent From Toilet Tubes
Everyone has to deal with toilet paper tubes, whether they like it or not. And while there's no doubt about the fact that they're widely recycled, it can still feel like a waste when you throw them away. But what if we told you that you could use them to make a DIY Advent calendar? As long as you have 24 or 25 of them at your disposal, of course.
After saving these up for a few weeks, you can then fill each tube with a gift or decoration and cover the ends with some festive paper or fabric. Just remember to number them!
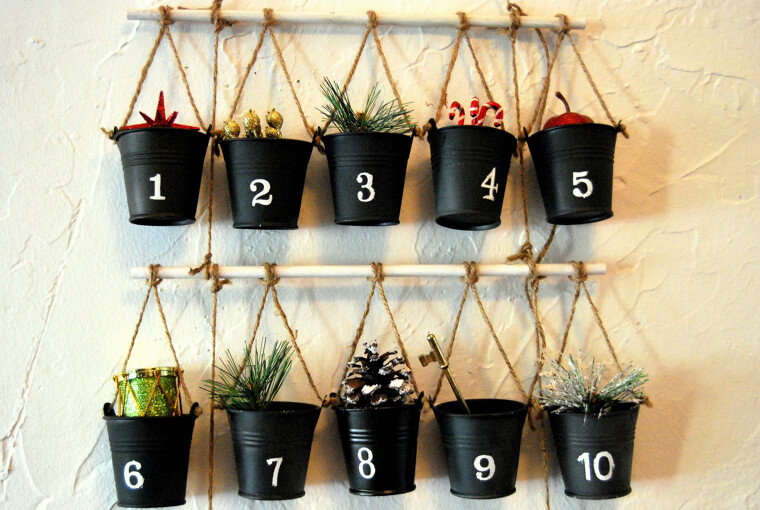
Use Some Hanging Advent Planters
If you look in your shed or garage, you'll probably find some spare pots and planters. And there's a high chance that you won't be using these over the winter period, so why not use them to make a DIY Advent calendar instead? You can still reuse them after the festive period, but for now it's a good idea to decorate them with paint, wrapping paper, or just a few bows and decorations.
You then have the perfect receptacle for your Advent gifts, which can then be hung from the wall or just popped on top of the fireplace for you all to enjoy.
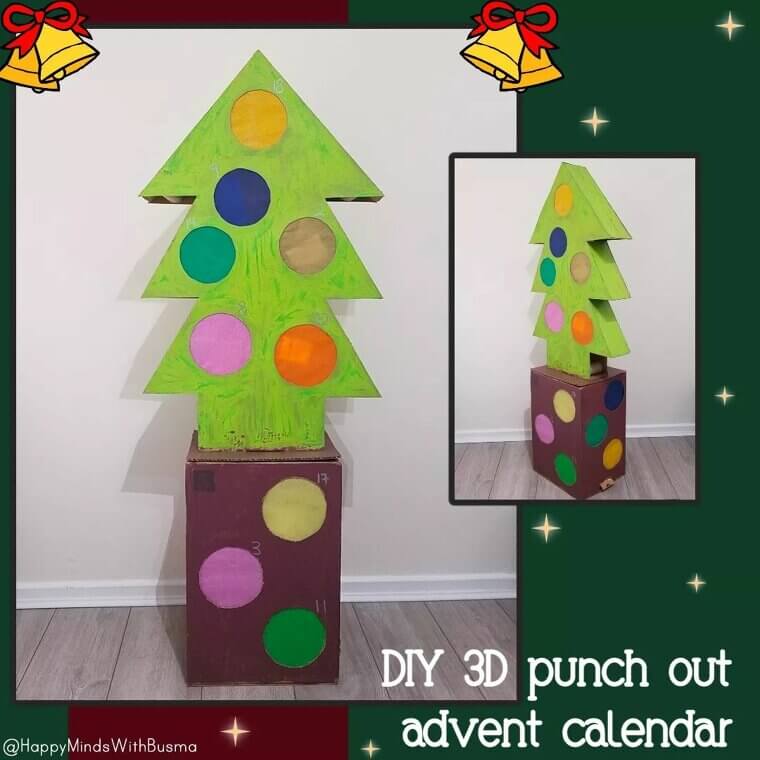
Make a Punch Box Advent Calendar
Waking up to a new Advent surprise is super fun, but being able to punch your Advent calendar every day is even more fun - and you can make this yourself as long as you have a large cardboard box lying around the house. Then, you just need to grab some scissors to cut out 24 holes in the box before covering them with some festive wrapping paper or tissue.
Underneath the holes, you can put all kinds of goodies, which can only be accessed when the recipient punches through the top! It's surprisingly fun, and great for a morning pick-me-up.
Number Some White Envelopes
If you're dreaming of a white Christmas, why not make a white Advent calendar? White is a great color if you're worried that your DIY Advent calendar won't match your home decor, and most people have some white envelopes lying around the house - so you won't have to spend too much money, either. When you've got these envelopes, you can then number them from number one through to number 24.
Although you probably won't be able to fill these envelopes with gifts, you can fill them with activities or DIY coupons. And if you hang them on a wall, you can jazz them with white decorations.
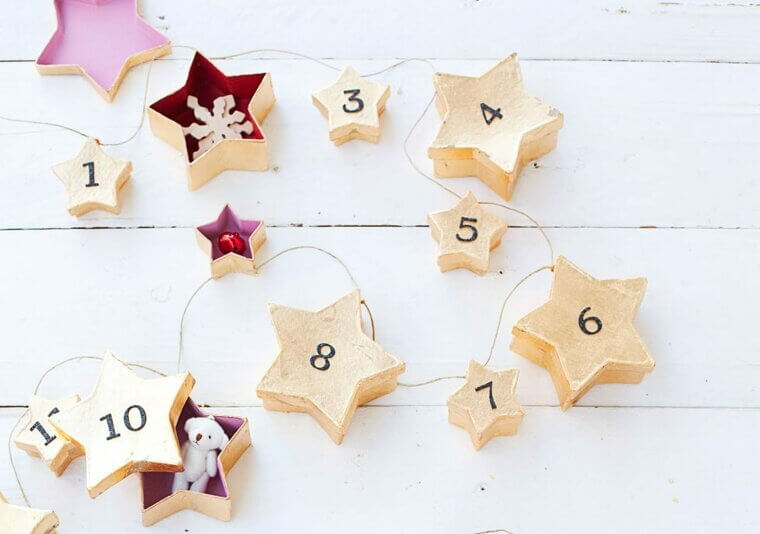
Make a Star Garland Advent
If you're up for spending a bit of money on your DIY Advent calendar, it's time to head to your local dollar or craft store to pick up some star boxes. These should be easy to find, but make sure you grab a few different sizes to really make it pop. Then, with 24 of these boxes to hand, you can number them for each day of the month and connect them all with some string or ribbon.
Then, all you have to do is fill them up with the things that you know your recipient will love. Just make sure that they have space in their house for it.

