Get Yourself a Pair of Pinking Shears
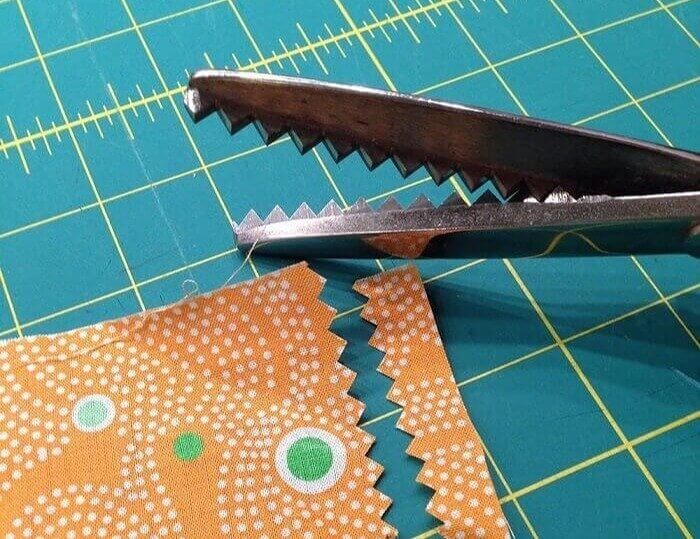
One of the most annoying parts of sewing is deciding what to do with all of the seams of the garment. Most store bought items use a serger to finish the edges of the fabric so that they don't fray, however a serging machine can be expensive and most hobby sewers don't want to invest in one. French seams are quite a hassle on occasion and that leaves the best option of pinking shears.
Pinking shears can be used directly on the loose pieces of the fabric seams and create a pretty zig zag effect that prevents fraying. It is not quite as secure as a serger, but it does the trick cheaply, quickly, and easily!
Keep Your Buttons on for Longer With Nail Polish
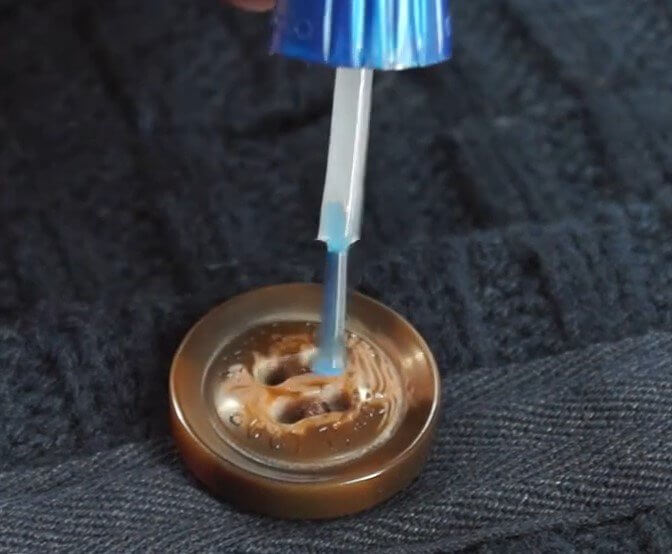
You probably wouldn't think that nail polish is the best thing when it comes to sewing and you may not even be able to think of how it could be used in sewing. However, it can be extremely handy in the world of buttons as it helps to keep the buttons sturdy on your clothing. You just need some transparent nail polish to paint on the threads and you are good to go.
The nail polish helps to keep the threads from fraying and keeps the buttons secured for a longer period of time.
Always Keep Your Scissors Sharp
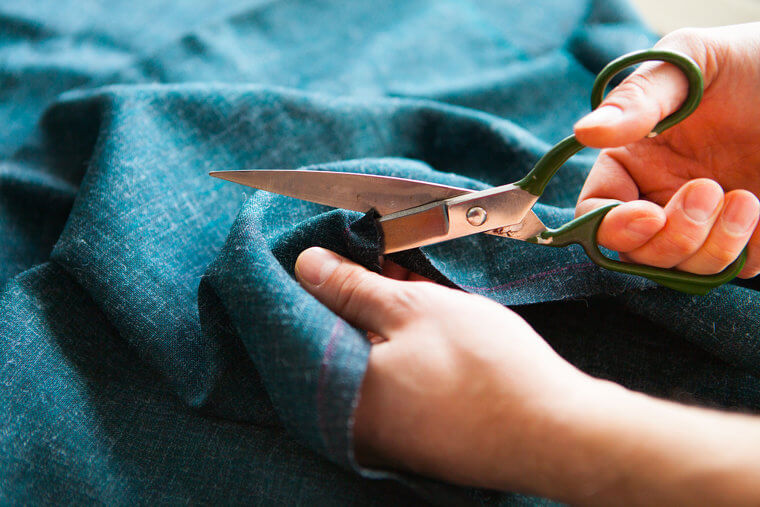
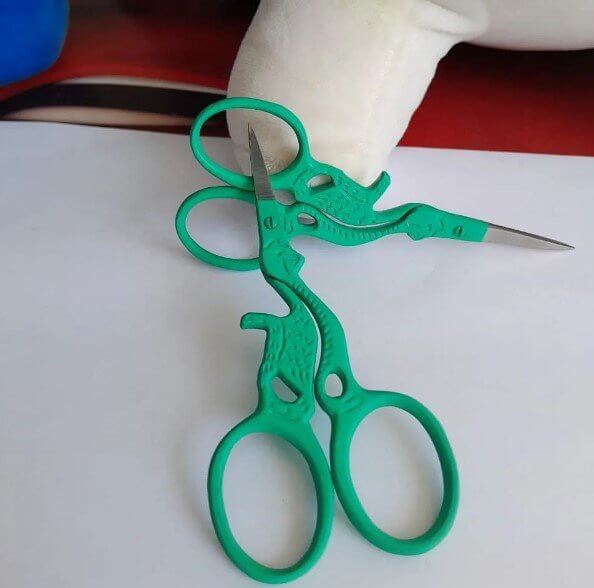
If you are a seamstress or a tailor, or if you even know someone who is, then you probably know one of the most taboo things that you can do is to use their fabric scissors for anything except the cutting of fabric or thread. That is because one of the simplest things you can do to make your sewing life easier is to ensure that your scissors are always sharp.
Sharp scissors make the process of cutting fabric a lot easier and ensure that you can evenly and perfectly cut all those edges, especially with difficult to work with fabric.
A Little Beeswax to Prevent Tangling of Threads
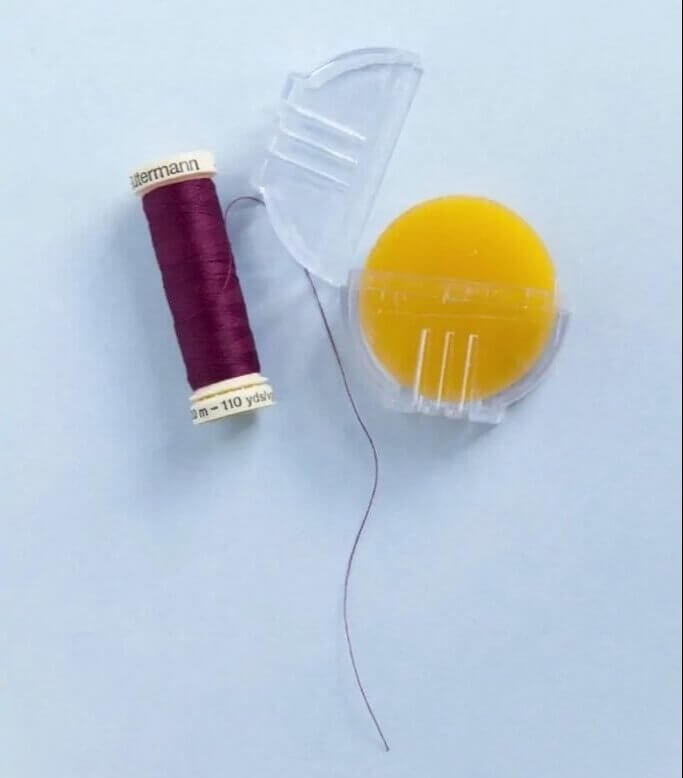
Anyone who sews knows that threads can be some of the most frustrating things to deal with when you are sewing. Unfortunately as thread is a pretty essential part of sewing, there is little that can be done to prevent this entirely. However, there are a few tips and tricks that you do to help relieve the intensity of the situation. Using beeswax is one of the most common ways to prevent crazy threads everywhere.
You may have even seen a piece of beeswax in your sewing kits from time to time and wondered why it was included. Now you know and should start using it!
A Simple Stitch Can Hold Your Drawstring in Place
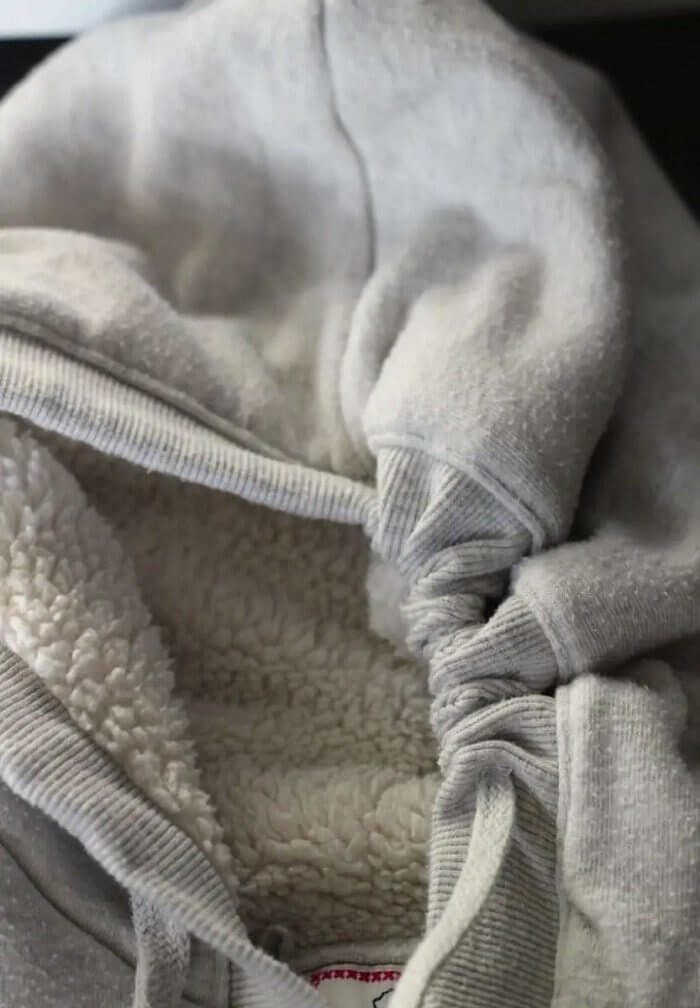
Who doesn't love a nice and cozy sweatshirt? They are versatile and comfy and are most people's go to outfit choice in the cooler months of the year. One of the most annoying things though is when the drawstring for the hood comes undone or comes out completely. It can be hard to rethread it through the opening and get it to be perfect again. One simple stitch can prevent all of that frustration!
All you have to do is sew one row of stitching in the middle of the back of the opening. It will keep the strings in place but still allow you to adjust the front as needed.
Gather Clothes Easily With Crochet Thread
Gathering is a fun technique that you can use when you are sewing. It is created by using a long stitch on the machine and then pulling the thread, thereby pulling the fabric together. This works well on thin fabrics, but on thicker fabrics, you run the risk of the thread breaking. To prevent this, use a thicker thread like crochet thread and you will be safe from potential breakage.
It is a quick and easy thing to do to save you time of restarting your gathering process if the thread breaks.
Make Your Own Fabric Weights
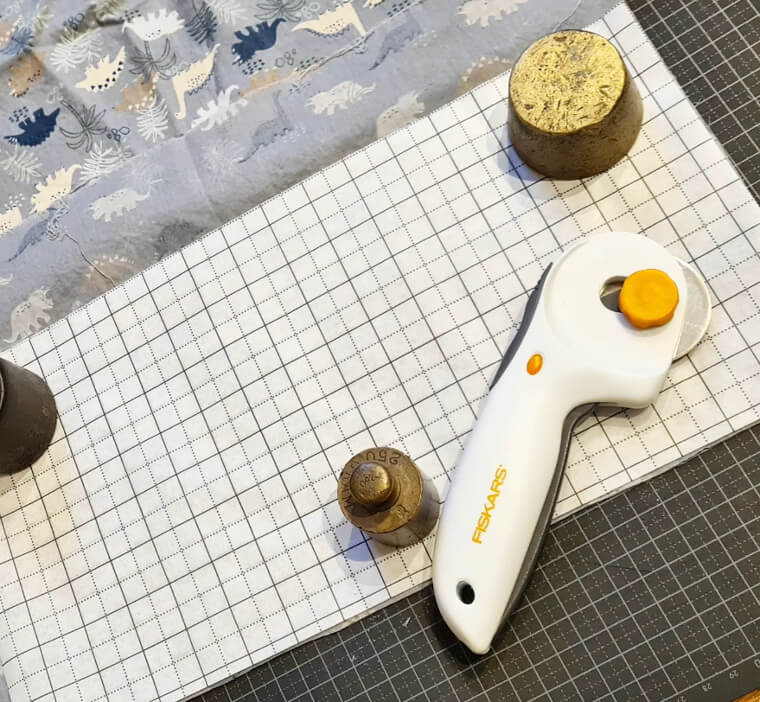
Cutting out your fabric can be one of the most time consuming parts of any sewing project. After all, you are messing around with endless pins and making sure that those thin pieces of paper don't go flying all across the room at the sight of any little breeze. A simple solution for this is the well known fabric weights. If you don't have any official fabric weights though you can make your own with a few bolts.
Bolts are heavy enough to help you keep the papers in place without breaking the bank as official paper weights can be expensive.
Use Pipe Cleaners to Clean Your Sewing Machine
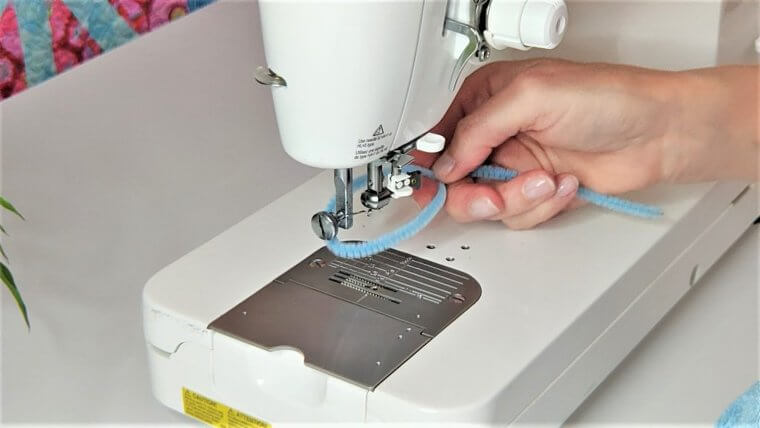
You can probably guess from the name "pipe cleaners" that they are more than just a tool to do arts and crafts and that, at least at some point, they were used to clean things (probably pipes). It probably comes as no surprise then that they can also be the perfect tool to clean your sewing machine. The sewing machine has so many little nooks and crannies that can be hard to reach and a pipe cleaner can help you to reach them.
The bobbin case especially can be a very difficult piece of the machine to clean...and yet it is one of the most important to keep clean. Pipe cleaners to the rescue!
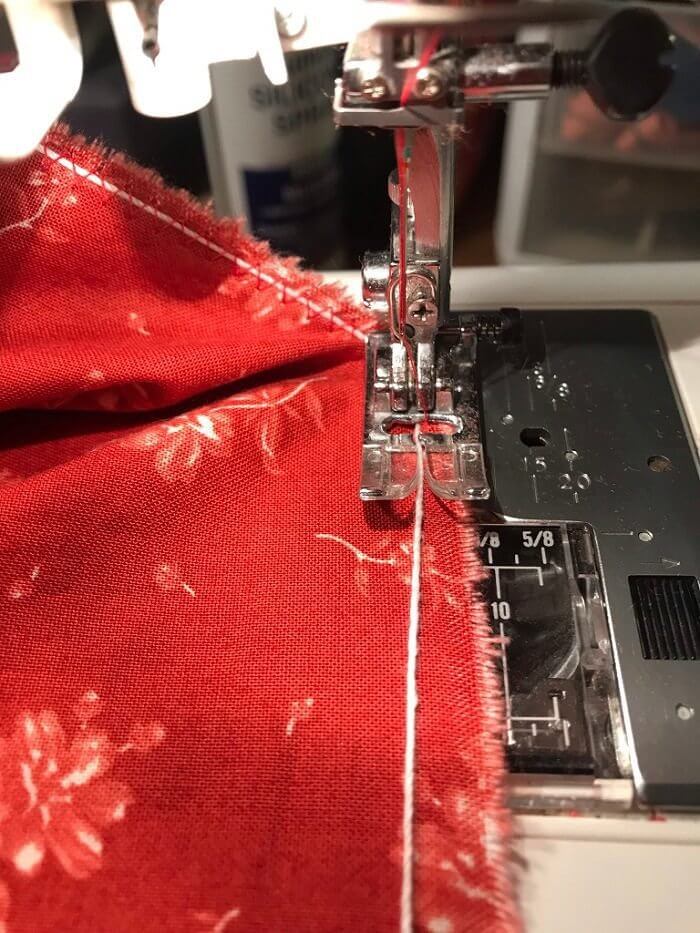
Never Underestimate the Power of Stay Stitching
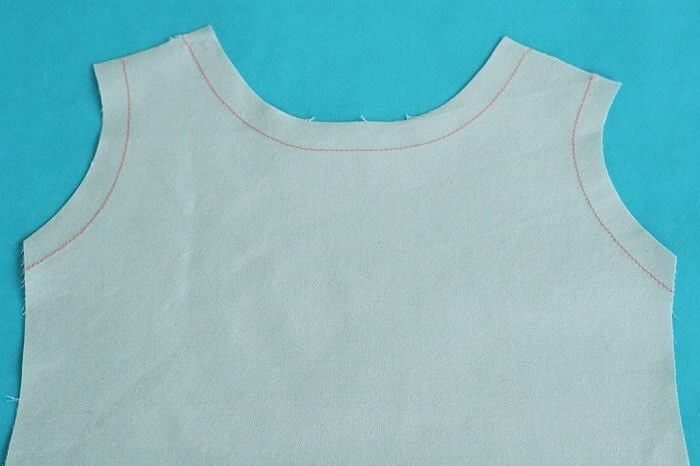
Sewing can be a very time consuming hobby. It isn't something that you can usually whip up in just a day or so and it often takes a few days or even weeks to complete a project. The length of time that it takes to complete the project is also directly correlated to how much effort you want to put into it. If you are looking for a very professional result, one of the best tips is to not forget about how powerful stay stitching can be.
Stay stitching does take a little bit of extra time but it can be so helpful to make the piece have a professional end result, especially around tricky curves.
Pin Your Pins Perpendicularly to Save Your Machine Needle
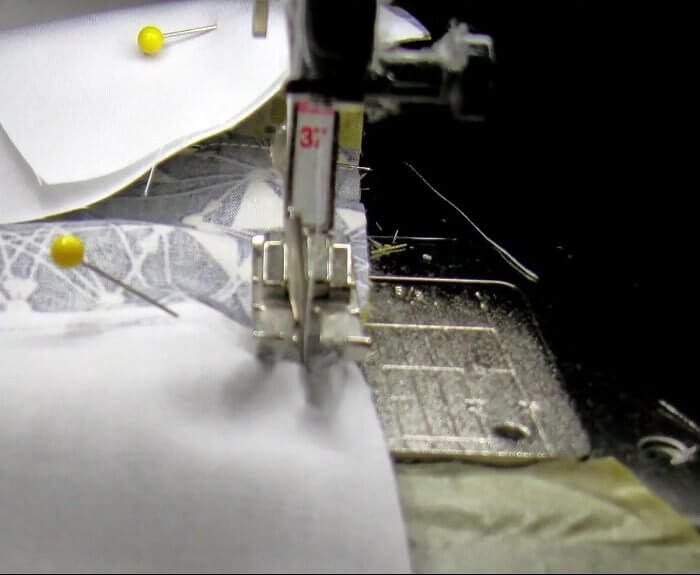
Pinning takes up a pretty big portion of the time that you spend sewing. Not all of the work is right on the machine and so much of it is actually in the world of pinning. It seems sometimes that you are endlessly pinning and unpinning. An easy way to help with the time that is taken in pinning and unpinning is to place your pins perpendicularly when you put pieces together.
This helps because you don't have to remove all the pins while you are sewing and don't have to worry about them breaking the needle on your machine.
Tie Your Scissors to One Place
There is a battle between pins and scissors in the world of sewing when it comes to which one is more essential and is used more often. At the end of the day, both of them are extremely important and you probably wouldn't be able to complete any project without both of them. It can be frustrating sometimes when you are in the middle of a project and suddenly lose your scissors.
A simple solution to help with this is to tie the scissors to the sewing table or the machine itself with a long string so that you can still use them and don't have to worry about losing them.
Use Steel Wool to Sharpen Your Needles
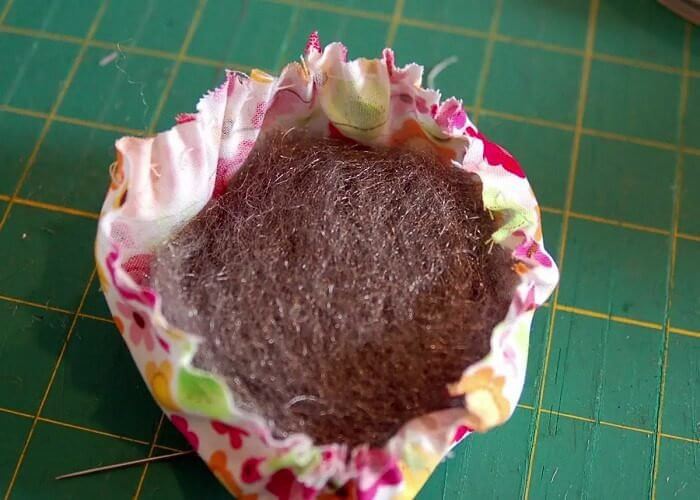
It has already been discussed that having sharp scissors is one of the most important things that you can do to make your sewing life a bit easier. Maybe the second most important thing to do is to have sharp needles. Sharpening a needle is a bit less common of a task than sharpening scissors, however, so in case you weren't sure how to do it, all you need is a little steel wool.
With the help of steel wool you can make sure that your needles are kept sharp and ready to use. This will also help to make sure that your fabric doesn't get snagged in the sewing process.
Keep All Your Pins Together With a Magnet
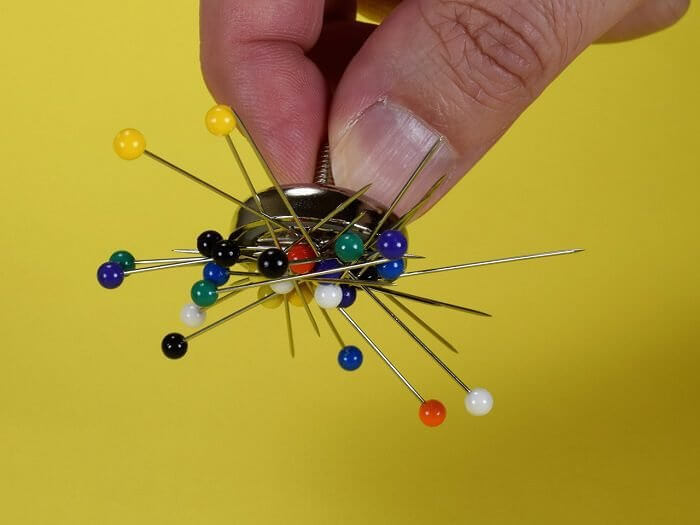
In case you haven't noticed the theme yet, pins are (as you probably know) a very important part of sewing. And they are also one of the most annoying and frustrating things to deal with while sewing as they are hard to keep all in one place. A very easy solution for this is to simply use a magnet. Since pins are made out of metal, this will keep them all together easily.
You can buy pin containers that are metal so that you don't have to worry about them falling everywhere. It also makes picking up any stragglers very easy!
Recycle Old Blankets as Batting
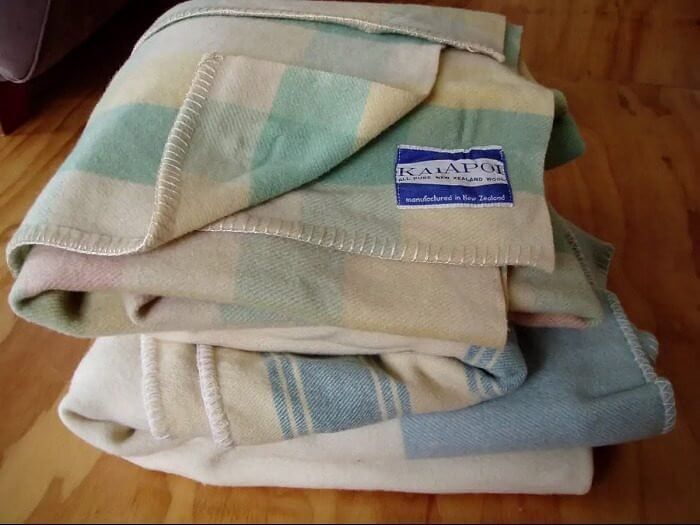
There is nothing better than recycling old materials and finding a way to repurpose them. After all, you may still love the product or the piece and would love to make something out of it without just throwing it away. If you have old blankets that are past their prime, don't throw them away! They can be used as batting for future projects and you'll save some money at the same time.
Batting usually isn't that cheap, so this is a perfect way to save the globe and also save a little bit of money. Recylce a little bit and find a great new purpose.
Hand Sew Buttons Easily
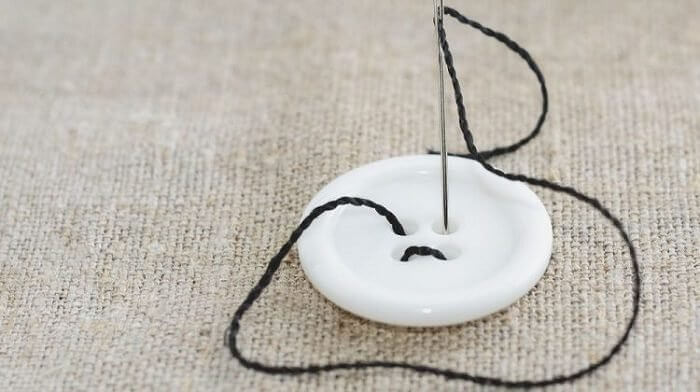
Perhaps one of the best skills that a person can learn is how to sew buttons on quickly and easily. There is nothing worse than thinking that your favorite garment is doomed and broken when it loses just one button. This is actually the easiest thing to fix and can be done quickly by hand using the stitch pattern and method that is shown in the photo. Your garment will be as good as new in no time.
Some people prefer to sew the button on in this pattern, with parallel stitch lines, and others prefer to sew it on with a criss cross. Both work very well!
Use a Fork to Help You Make Ruffles
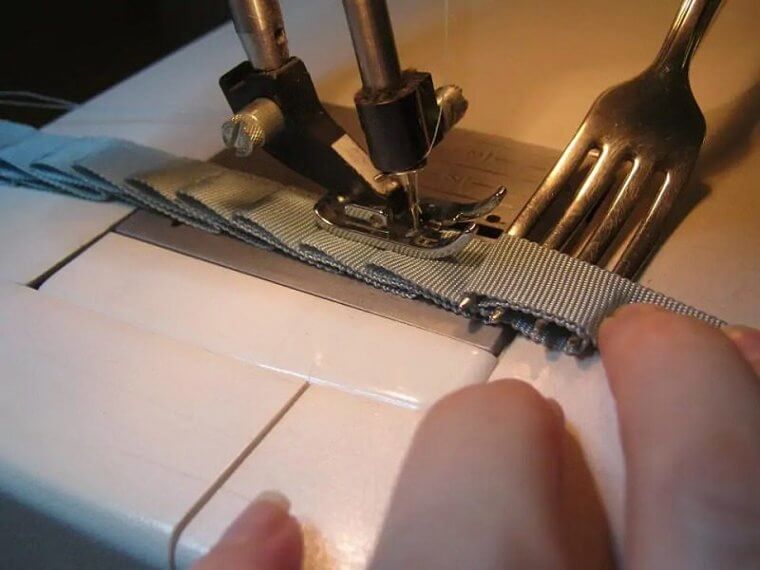
Ruffles are a big part of fashion. Sometimes they are extremely popular and other times they are completely out of style and even other times you just have to use them wisely in order for them to be in style. Regardless of the trend, if you want to make some ruffles, there is a simple trick that will help you do it. All you need is a fork and your life will be so much easier.
The fork will help you fold the fabric perfectly every time so that you can ensure that the ruffles are even and looking great, regardless of the fabric you are using.
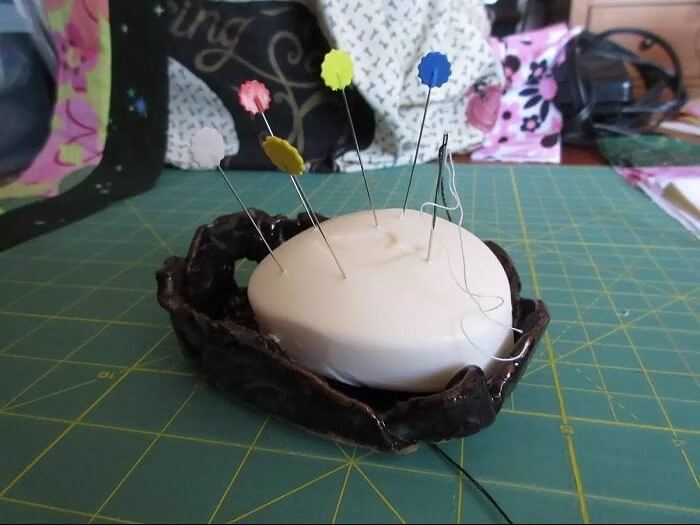
DIY Soap Pin Cushion
There are so many different ways to hold your pins and needles that are better than a simple container where they all get mixed together and you run the risk of pricking your fingers whenever you go in for a singular pin or needle. If you don't want to use the magnet or pin box or fabric pin cushion, you can always use a bar of soap to hold all your pins.
The soap makes for a great stabilizer for all of the pins. The only downside to this is that there may be some soap residue on the pins afterwards.
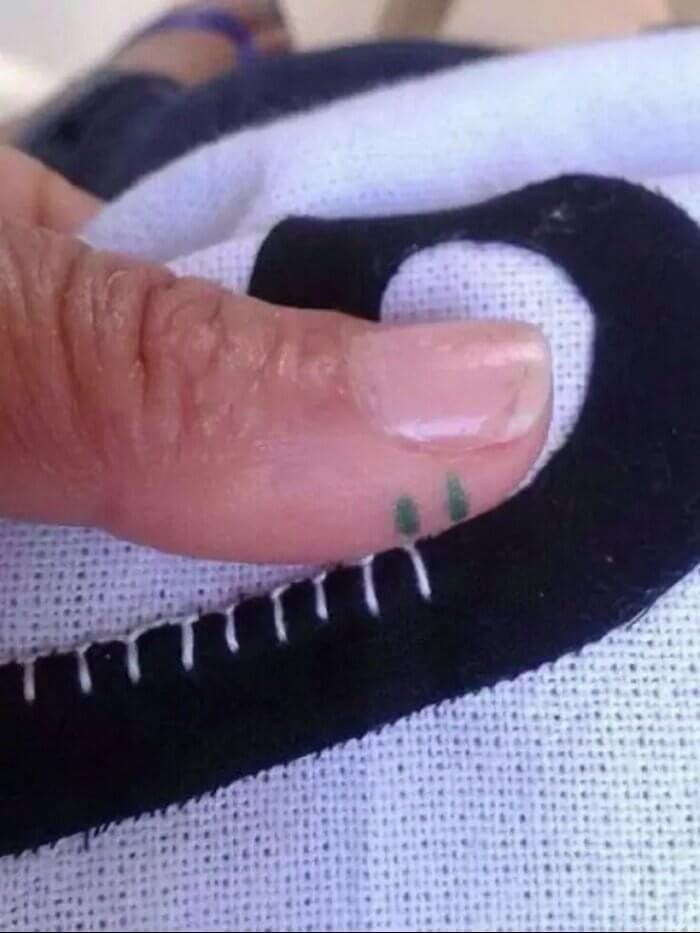
Mark Your Thumb With the Seam Lines
Although most of the items in this article have been focused on tips and tricks for machine sewing, there are plenty of tips and tricks to keep in mind for those who want to hand sew as well. One of the simplest ones is to mark the stitching lines on your finger (usually the thumb is best) and this allows you to know exactly where to start your next stitch.
This will make your hand sewing a lot easier and it will also ensure that your project looks professional and even all across as you won't be guessing about the stitch sizes.
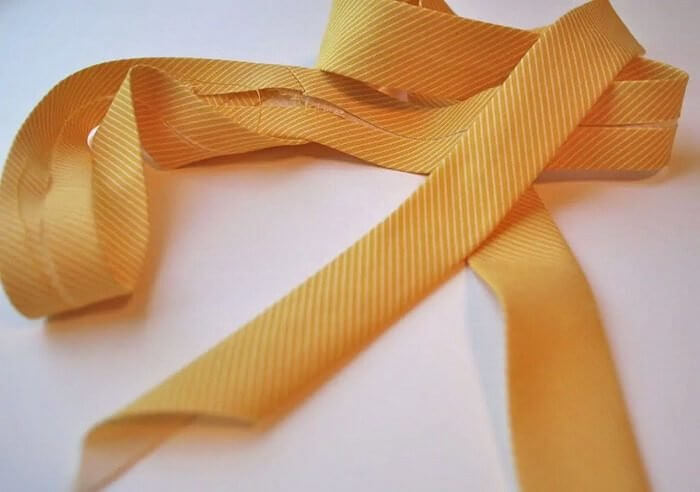
Make Your Own DIY Bias Tape
Bias tape is extremely useful and helpful when you are sewing. It can be used in various projects to close seams and to ensure that all of the edges are looking professional. However, you don't need to rush out to the store every time that you want to use some bias tape. It is actually one of the easiest things to make at home with some spare fabric that you have lying around.
It does take some time to make the bias tape, but it can definitely be worth it if you are looking for something to match the outfit that you are making perfectly.
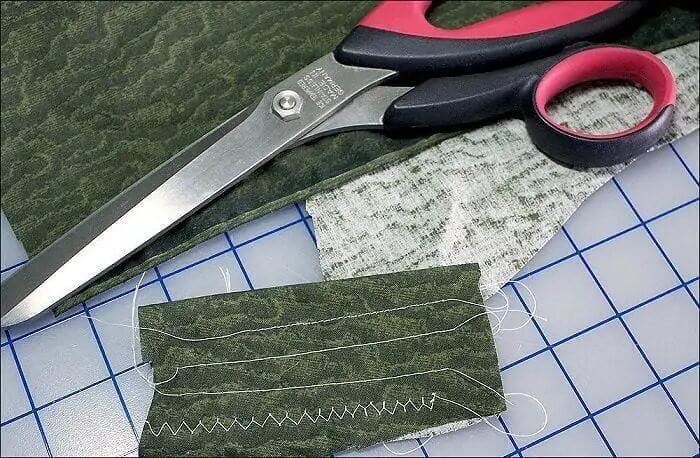
Do a Short Stitch Test Before You Start
Every sewing machine is different and different fabrics and needles can react differently every time that you sew. One of the easiest and simplest things that you can do to make your sewing experience better is to just do a few sample stitches before you start any sewing project. That will ensure that your stitches are all even and looking as you want before you start to sew on the actual fabric.
All you have to do is get a piece of scrap fabric and test one of each type of stitch so that you can see how it works.
Use a Rubber Band to Mark the Seam Allowance
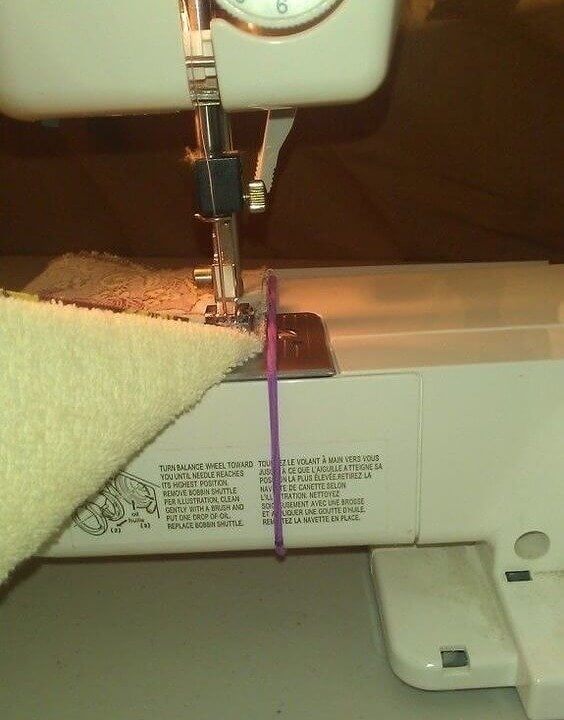
Although most machines come with markings that show you the different seam allowances, sometimes you will have a bigger seam allowance that you need to mark and know where to sew. Instead of drawing a line on your sewing machine or just eye balling it and hoping for the best, you can use a rubber band and wrap it around the base of the machine at the length that you need for the allowance.
This is especially great because then you don't have to worry about marking up your sewing machine every time you have to put in a seam allowance, you can just move the rubber band.
Don't Forget About Elastic Thread
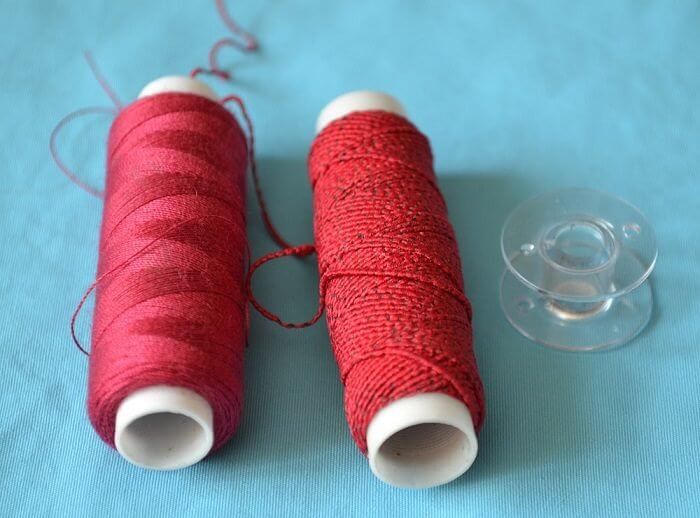
Perhaps one of the most underestimated things in the sewing world is elastic thread. People seem to just walk by it when they go to the sewing supplies shop. Maybe they are unaware of how many amazing things it can be used for. Whether you are looking to add a little bit of flexibility to a garment with the use of shirring or you just want some flexible ruffles, elastic thread is just what you need.
You can buy the elastic thread in so many different colors and it can really add a lot of beauty and detail to a project.
Two Pencils and a Rubber Band for Perfect Seam Allowances
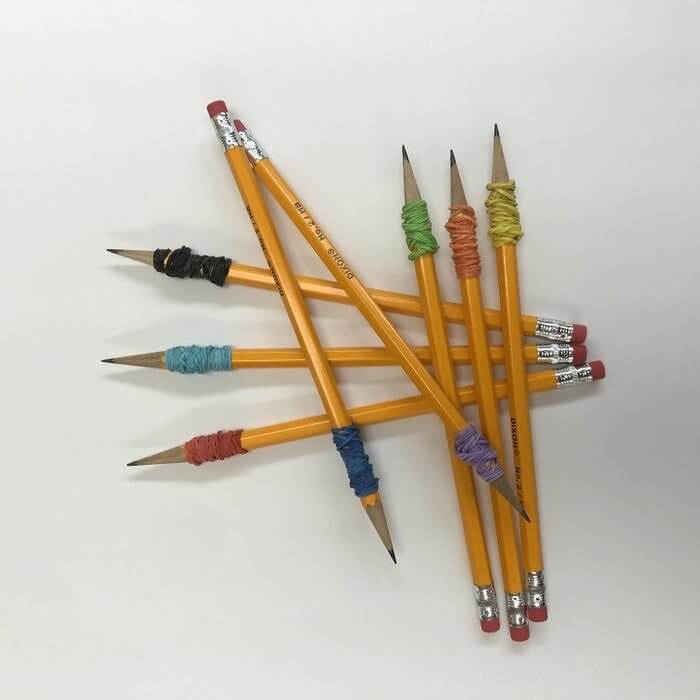
Getting the perfect seam allowance can be quite a challenge when it comes to sewing. After all, seam allowances are one of the most important things as that is what determines the end size of te garment and if you have any wiggle room if something does not appear to be the correct size in the end. Two pencils and a few rubber bands are all that is needed to make sure your seam allowances are perfect.
You just need to make sure that the pencils are the perfect length apart from each other and then draw on the seam allowances.
Make Your Own Trim Organizer
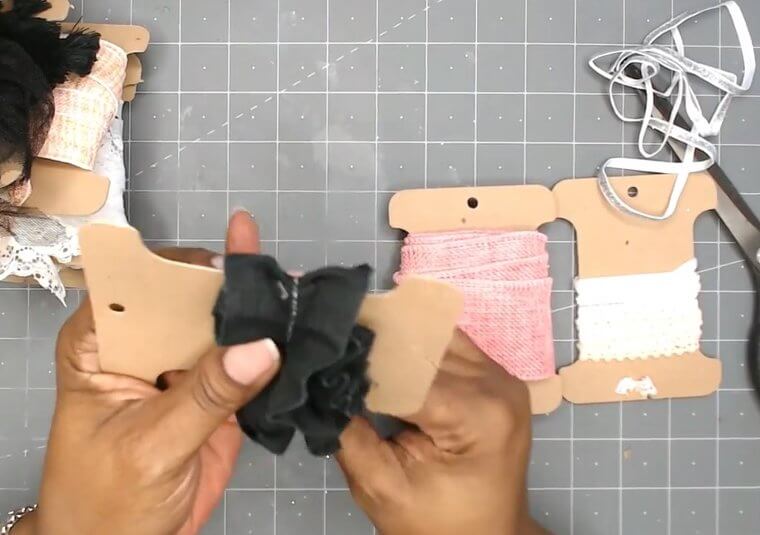
One of the simplest ways that you can make sure that your sewing project is completed as efficiently as possible is to make sure that everything is organized in the sewing room. That means your thread, your fabric, your bobbins, and your trims. You can easily make a DIY trim organizer from a cardboard box and some pieces of cardboard. It only takes a few moments but will save you so much time.
You should never be overwhelmed by all of your different trims again because you can use this organizer to save time and frustration.
Wash Your Fabric Before You Start Sewing
Although this is not necessarily a sewing tip, it sort of still is as it helps you to prep for your sewing in the best way possible and ensure that the project stays the way you designed it even after the first wash. A lot of people make the mistake of only washing their fabric for the first time after they finish sewing a garment and they don't know how catastrophic that can be for the end result.
Some fabrics are very prone to shrinkage, especially cotton. And one of the worst things you can do is finish a sewing project only to find that it is a few sizes too small after you wash it once.
Push the Needle, Not the Thread
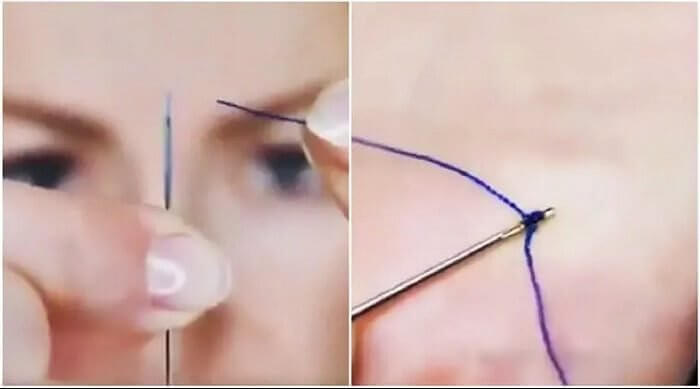
If you struggle with your eyesight then probably one of your least favorite tasks in the sewing process is to thread the needle. It can take an endless amount of time and so many attempts. Some people give up because the task is just too difficult. However, if you need a little bit of help, then you can consider pushing the needle eye toward the thread instead of the other way around (which is more common).
There is something about this reverse action that makes it a little bit easier to get the thread into the needle and get started sewing!
Interfacing and Some Stitches to Fix Your Jeans
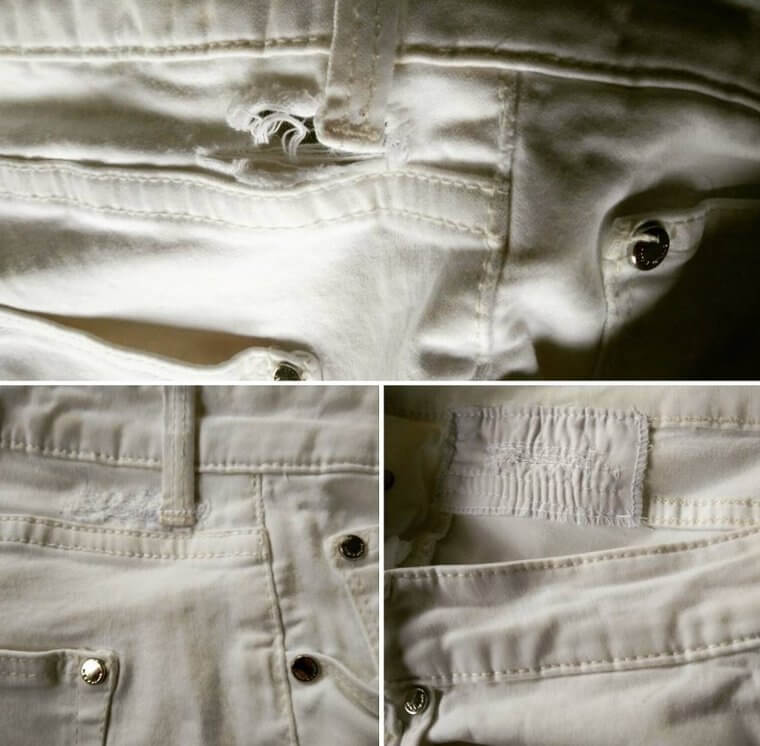
There is nothing worse than realizing that your favorite pair of jeans is about to reach the end of its life. It is so hard to find the perfect pair of jeans that you will probably want to do everything and anything in your power to make sure that they last as long as they can. If that is the case then you can grab some interfacing and a machine and you can repair your ripping jeans.
Although this will not be a permanent fix, and your jeans will probably start to rip just a little bit after, it is at least a solution for a few extra months out of your favorite fits.
Use a Safety Pin to Pull Strings Through
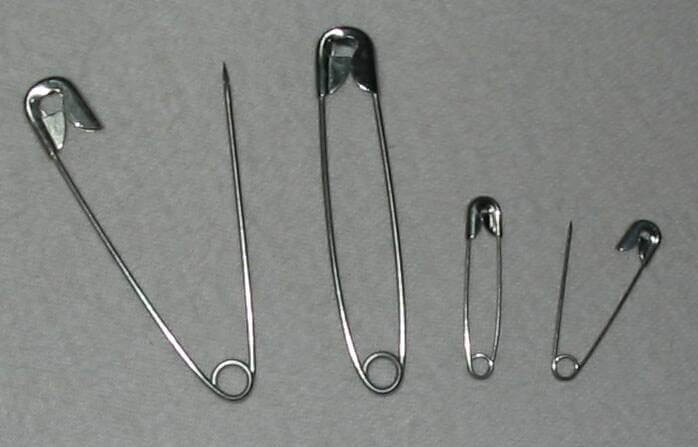
A safety pin can come in quite handy in many different circumstances when you are working on a sewing project. One of the best ones is to use it to help you pull strings through loops or pieces of fabric. Whether you are sewing a bathing suit with a drawstring or a pair of pants or a sweatshirt, this little trick can save you some time. One simple safety pin can help a lot.
You can also use a needle with a large eye or something similar, but not everyone has one of those easily accessible while most people have a safety pin lying around.
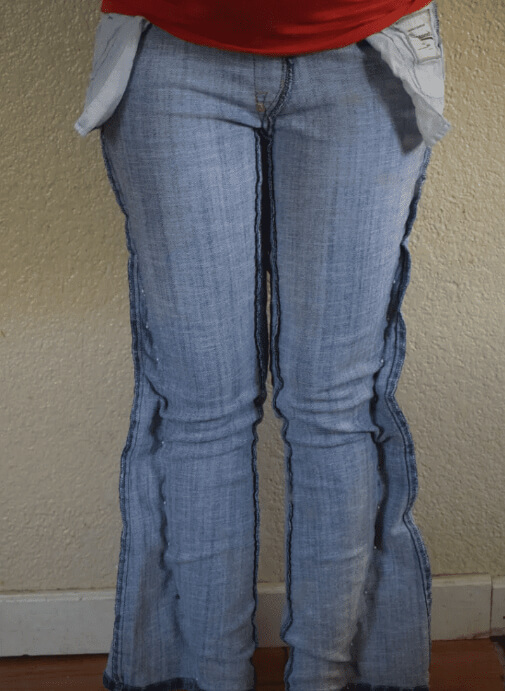
DIY Skinny Jeans
Although skinny jeans aren't the most popular trend at the moment, trends come and go and you don't want to buy new pants every time a new style of jeans becomes all the rage. If you have looser and flowy jeans that you no longer want in that style, they can be easily altered to a thinner leg or even a skinny jean style with the use of a sewing machine and a few stitches.
You can make it more of a boot cut fit or skinny jeans if you have a flared pant leg. It's a great way to save some money and not throw away a perfectly good pair of jeans.
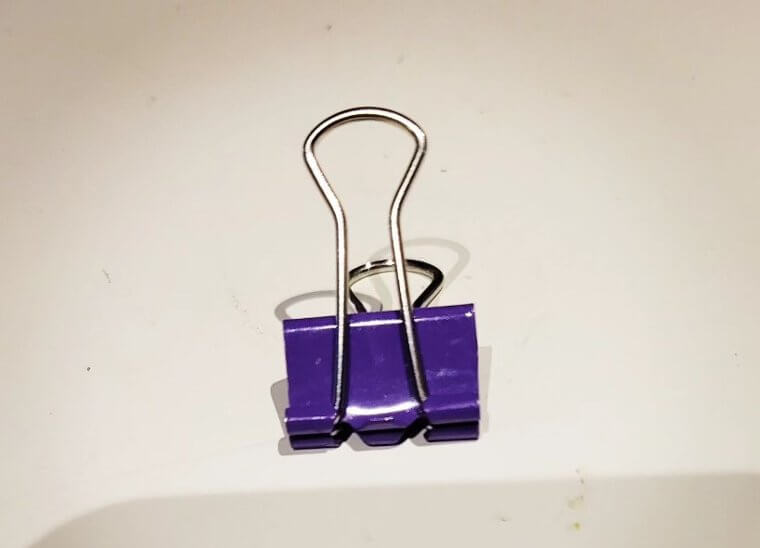
Use Binder Clips to Hold Difficult Fabric Together
Sewing is all fun and games until you have to try to pin together slippery or silky fabric with just some pins. You have to use about a million pins just to try to hold the pieces together and it still someone doesn't seem to be doing the trick. They fall out and the fabric slips all over the place. That is the perfect time for some binder clips. They are stronger and less likely to lose their grip.
You'll be impressed with the results of binder clips for those difficult fabrics that are nearly impossible to pin and keep together.
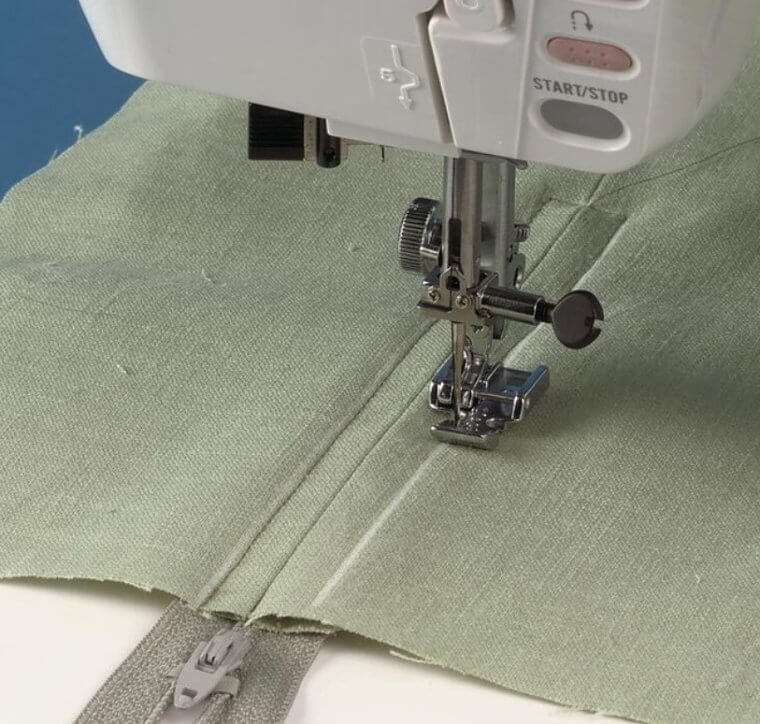
The Easy Way to Install a Zipper
For some people, putting in a zipper is the most daunting task when it comes to sewing. If you don't know what you're doing, it can be extremely time consuming. However, there are so many tips and tricks that you can learn that will help you to save time when you are installing a zipper, making it actually to be one of the most enjoyable parts of the sewing process.
Keep the needle on the left-hand side and sew on the right side of the seam. Then you just have to slide the fabric under the presser foot, backstitch, and start sewing the other side.
How to Get Crisp Corners
One of the simplest things that you can do when sewing that will make your piece look professional is to ensure that all of the corners are properly turned so that they are crisp. Having bunched up fabric in the corner of a piece (especially if it is a collar) will make your garment look unprofessional and homemade. One of the easiest tricks to prevent this is to cut the excess fabric in the corners and use a blunt object to push it out when flipped right side out.
You can also sew a small thread into the corner and use that to pull the corner to a perfect point at the end.
Use Plastic to Easily Sew Heavy Fabrics
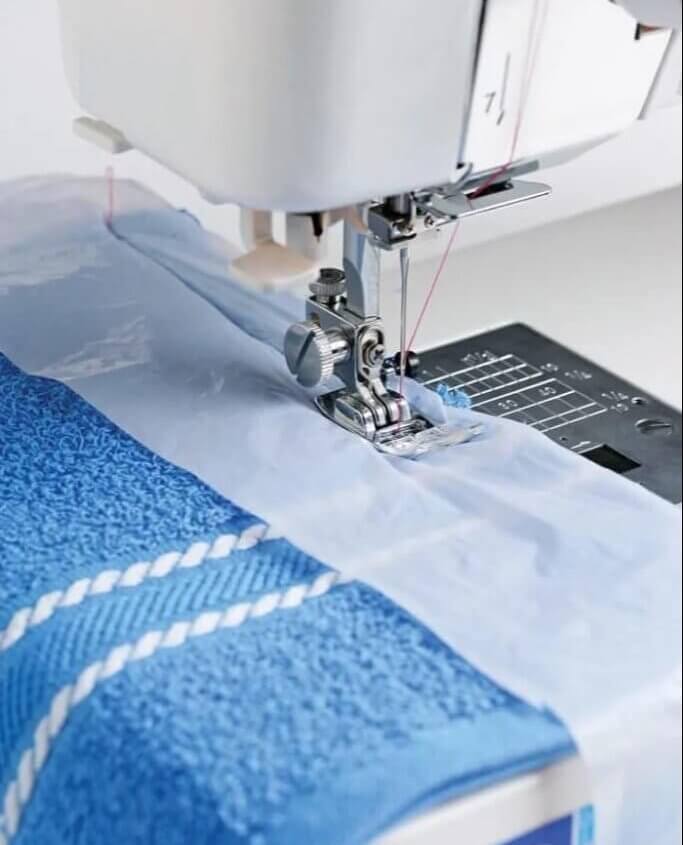
If you don't have a fancy and expensive sewing machine, or if it is just difficult for you to sew with certain bulky or heavy fabrics, this hack will be a lifesaver. In order to sew over top thick or troublesome materials (like terry cloth or fluffy fabric), all you have to do is put a piece of plastic over the top when you sew. This ensures that the fabric doesn't get stuck in the machine.
It is already easy enough for regular and easy to use fabrics to get stuck in the machine. When you try out different fabrics it can become unbearable.
Get Yourself a Good Seam Ripper
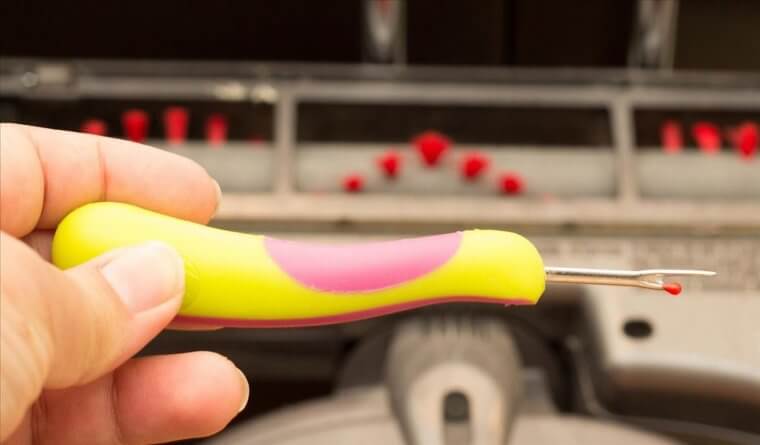
No one is perfect. Mistakes are made with every sewing project. There is not a sewer on earth that has completed a project without making a few mistakes. Although some people tend to just use scissors to remove the unwanted stitches, spending endless amounts of time trying to rip out each seam individually without ripping the garment, you need to buy a seam ripper. It will speed up the process immensely.
Seam rippers even have one end that is blunt so that it can help you to remove the stitches quickly without harming the garment in any form or fashion...truly an essential!
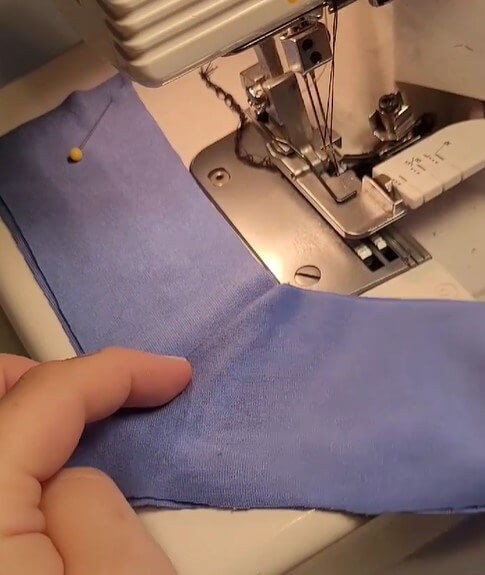
A Trick for Using a Serger
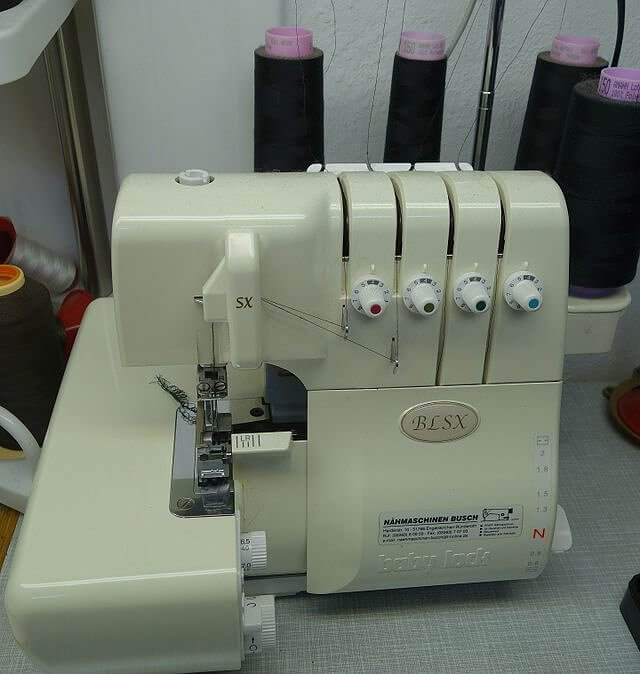
A lot of folks love using this machine because it really speeds up the sewing process. The secret sauce here is the serger, making sewing a breeze! But to get those edges looking sharp and the stitches just right, you've gotta know how to use it properly. When you're working with jersey fabrics, here's the trick: lift the top knife of the serger by pulling it to the right and then turning it up.
Fold that corner of the knit fabric twice, give it a good press, and you're ready to rock and roll with perfect hemming on your knit fabric.
Sew Buttons on by Machine Instead of by Hand
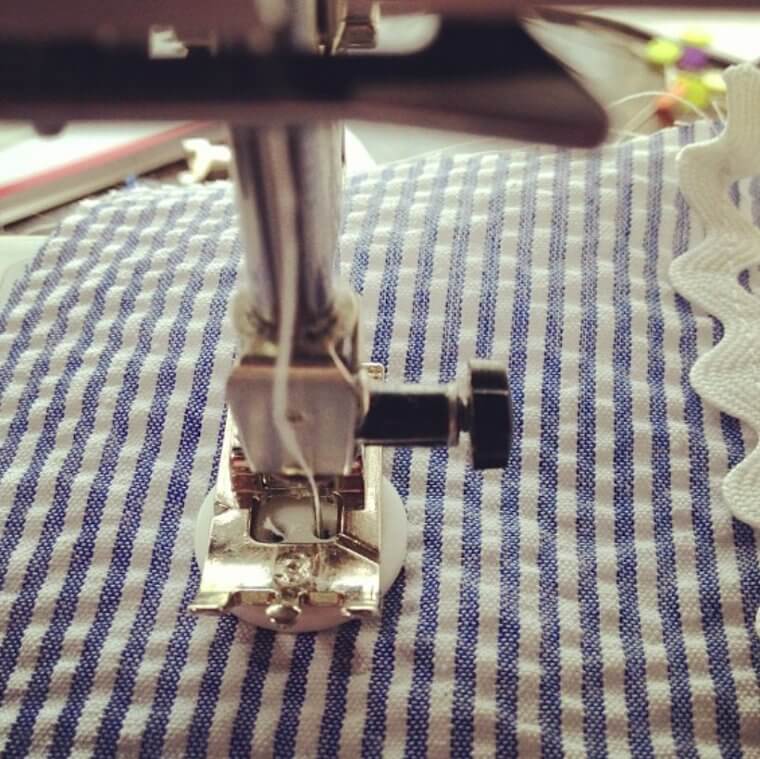
When it comes to sewing buttons, handling a few by hand is fine, but when you've got a bunch to attach to your clothing, it's time to bring in the machine. Sewing multiple buttons with a machine isn't as daunting as it might seem. Here's the next sewing tip: lower the feed dogs, which allows the needle to stitch in one spot repeatedly. Most machines lower the feed dogs automatically when you select the button sewing function, making this super easy!
This is really a great feature that allows you to save some time when you are sewing buttons onto your newly made garment.
Use Masking Tape to Sew a Perfect Quilting Line
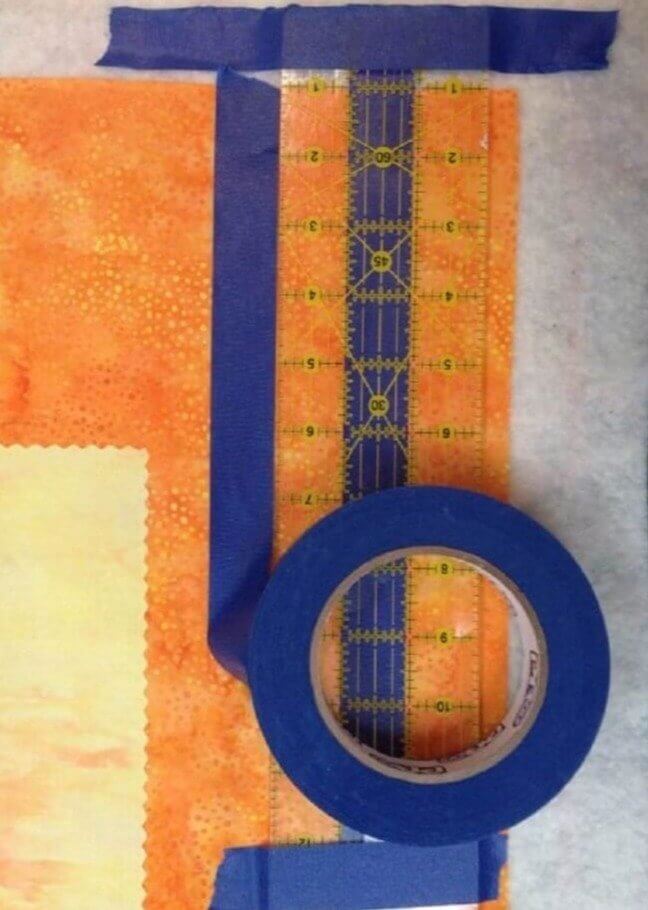
If you are a quilter, then you probably know that one of the most frustrating parts of quilting is trying to ensure that your lines of stitching are even and straight when you put them all together. After all, no one wants crooked or tilted lines when stitching on a quilt. That is where masking tape comes in handy. You can place it on top of the fabric and just follow the lines that the tape makes.
It is also very easily removed at the end of the project, making for a very easy clean up.
Keep an Eye on Skirt Lengths
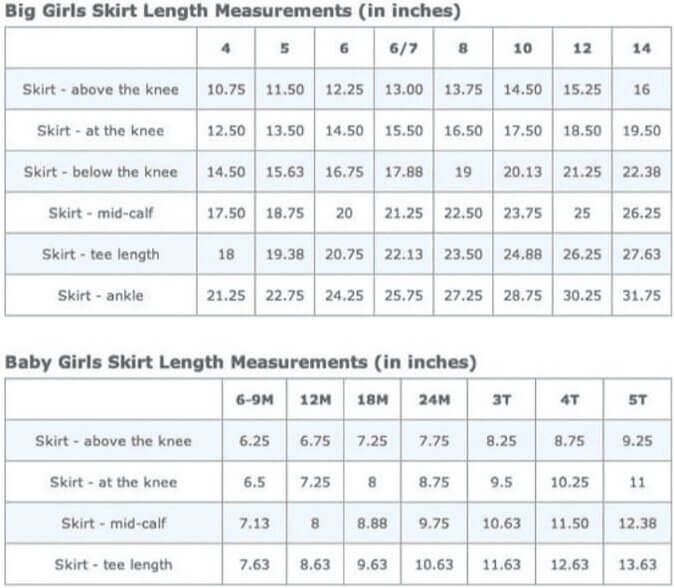
If you are not using an actual pattern, it can be difficult to ensure that the end result of the garment will be exactly what you are looking for. This is especially the case when it comes to skirts. They are the easiest to make too short and there is no way to fix it once that happens (unlike if it is too long and then it can just be hemmed).
Use a chart like this one if you want to make sure that the skirt you are sewing will be the perfect length at the end.
A Tip to Keep Your Bobbins Organized
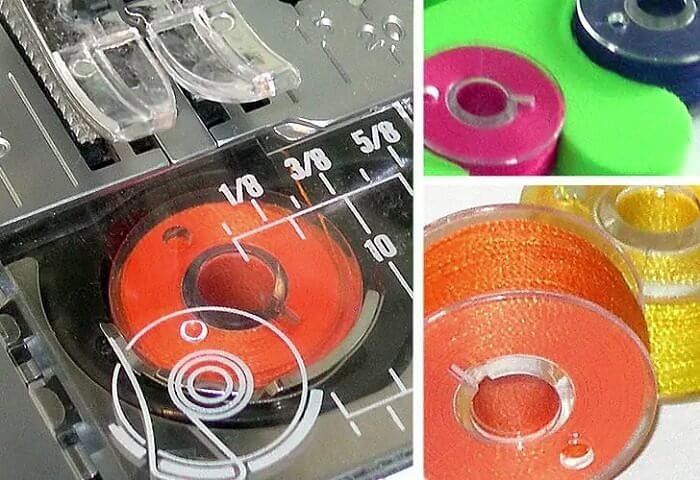
Sewing is an amazing hobby and a fun pass time, however, it is not really a tidy one. After all, there are endless threads that are involved in sewing making the entire process of sewing a tidy person's nightmare. It can seem hopeless to try to organize all of the different threads from the spools and the bobbins, however, there is a nice trick that can help...pedicure toe separators!
These little toe separators will help you to keep all of your bobbins in place, also making sure that the little threads don't get all tangled.
Never Ending Thread With a Serger Spool
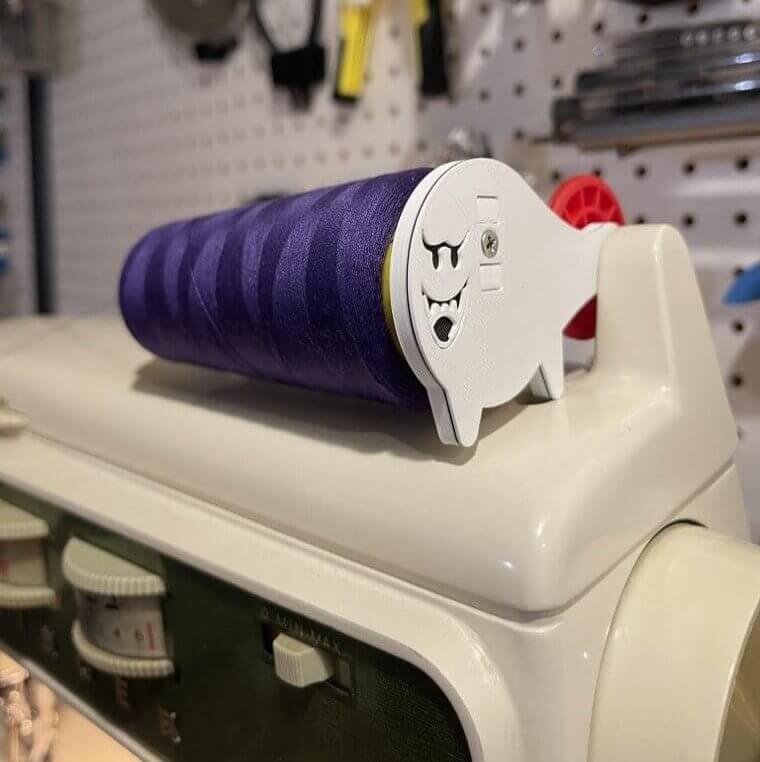
It can be annoying to be in the middle of a sewing project and then see suddenly that your thread is about to run out. It always seems to happen right when you are about to finish sewing a garment or a piece...it's always at the worst timing. If you want to prevent that then you should consider using a serger spool instead of a regular spool in the future.
The serger spool will allow you to have a much larger amount of thread threaded when you start out, making it unlikely that you would have to replace the thread.

